Fine-Tuning the Gmail Mailbox
Now I do not know a single person who does not have e-mail. Many, not even one box.
As it turned out, to choose a mail service, it is not enough, it is also necessary to configure the box so that it would be convenient to work with it.
This article describes how to perform the initial settings in the mailbox of gmail to work with it more conveniently. And most importantly, it's not some complicated global settings, but elementary, which you will take no more than 2 minutes.
By the way, if now you have mail on Yandex, mail.ru or somewhere else, then I advise you to switch to gmail as quickly as possible. You will later understand why only a Gmail box is suitable for a MLM business. In the beginning, gmail may not seem very convenient to you, it's just because you changed your habit. But in a week or two, you will not understand how you used other mail services before. In one of the next article, I'll tell you how to make the transition from another e-mail address to gmail absolutely painless, with all the letters and contacts saved. And even, letters from gmail you can send from your past address.
In addition, there will be a clarification - how to combine all your boxes on one gmail account.
So, proceed to configure the mailbox . We go to gmail.com and register. Next, we find ourselves in the mail interface of our e-mail. The view is presented in the picture (in the screenshot the user name and name in the chat are smeared):
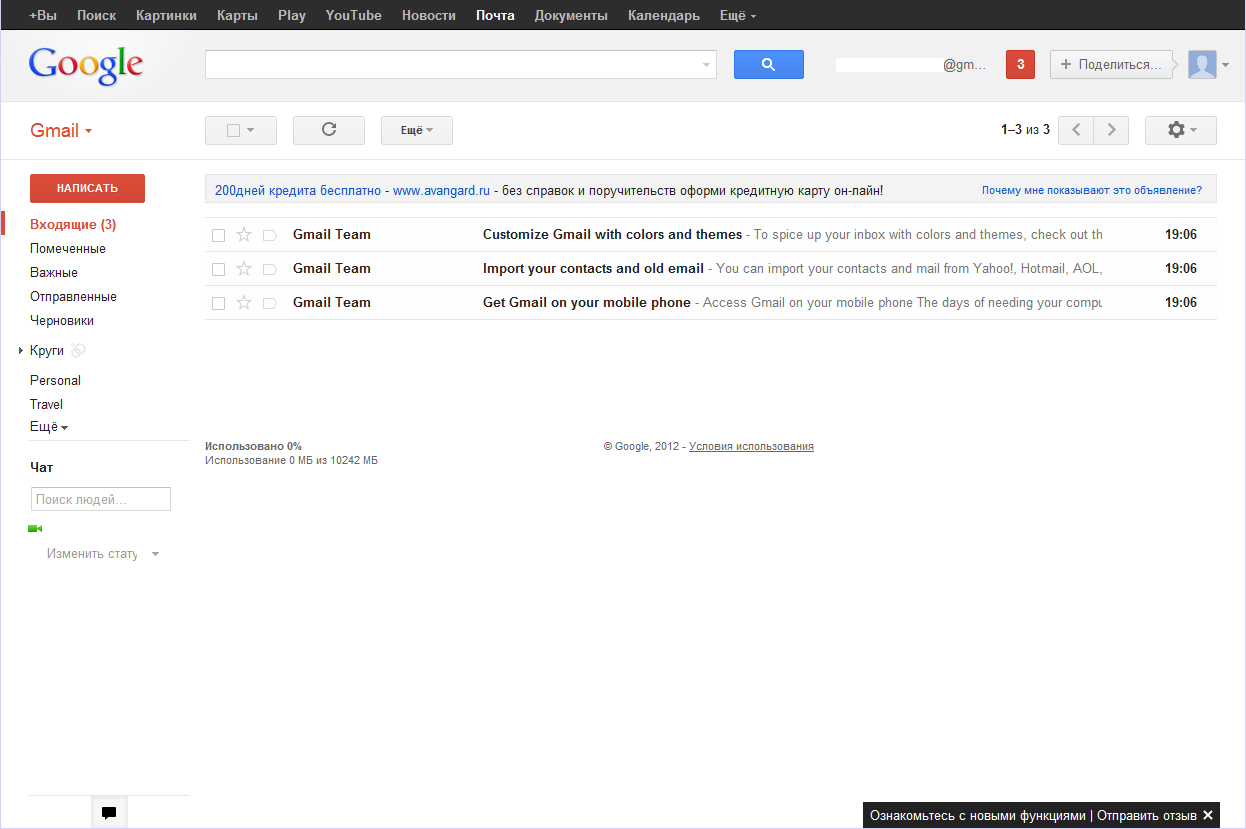
Gmail mailbox after registration - no settings
We begin to set up. The first thing we do is push the gear to the top right and make the mail interface compact. We look, that it turned out:
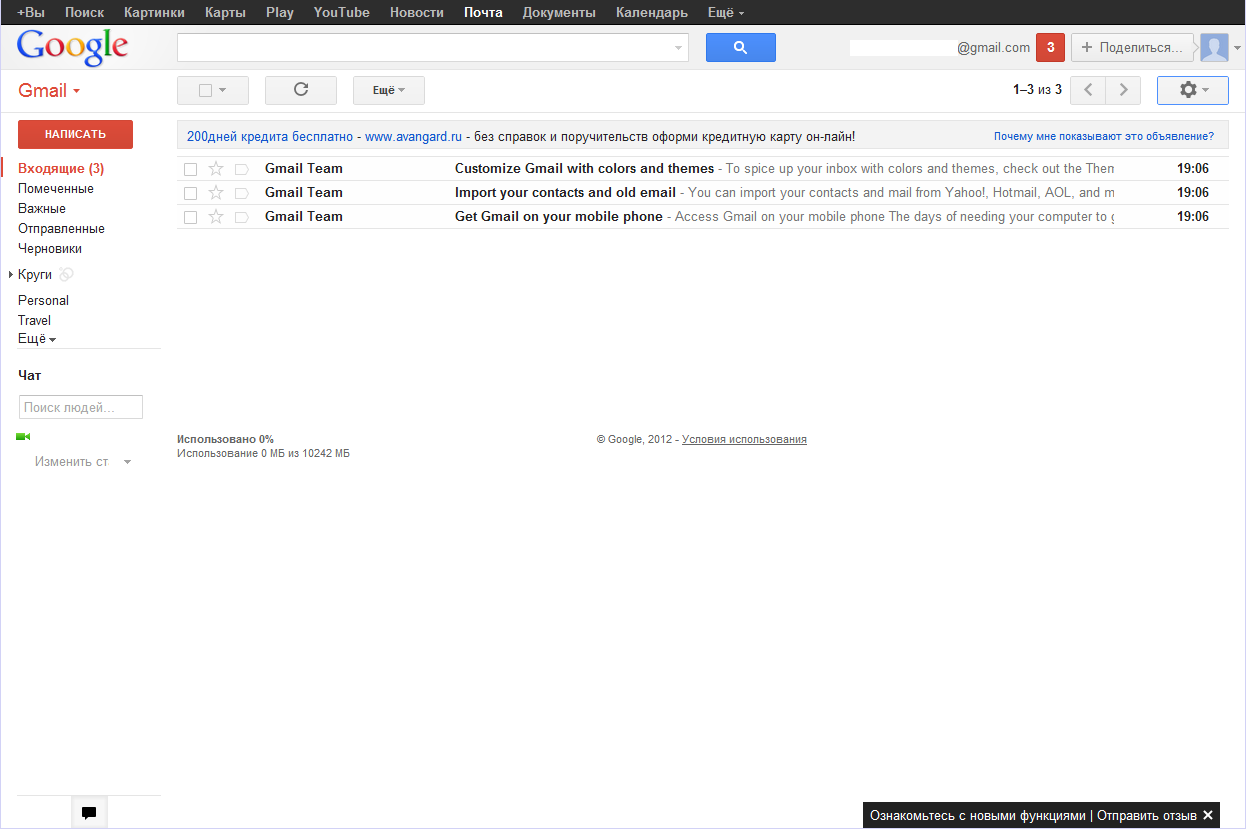
Compact gmail view
Now we will change the subject. Again, click on the gear, select "Themes", and select the theme "High contrast".
Next, we will work with the settings. Again, click on the gear and select the settings:
We replace the icons with text buttons:
Settings - General - Shortcut buttons: select "text", click "Save Changes".
Turn off the display of unnecessary shortcuts in the left menu:
  Settings - Labels:
	 Put "no" on the following lines: Important, Circles, Personal, Travel
	 Set "yes, if there are unread" - starred
As a result, on the left in the menu should be the following: Inbox, Starred, Sent
Personal, Receipts, Travel, Work shortcuts can be removed altogether, so that they do not interfere.
Disable Chat
Settings - Chat: tick "Disconnect chat"
We remove advertising
Settings - Web Clips: remove the checkbox "Show my Web Clips over Incoming"
We look at our intermediate changes:
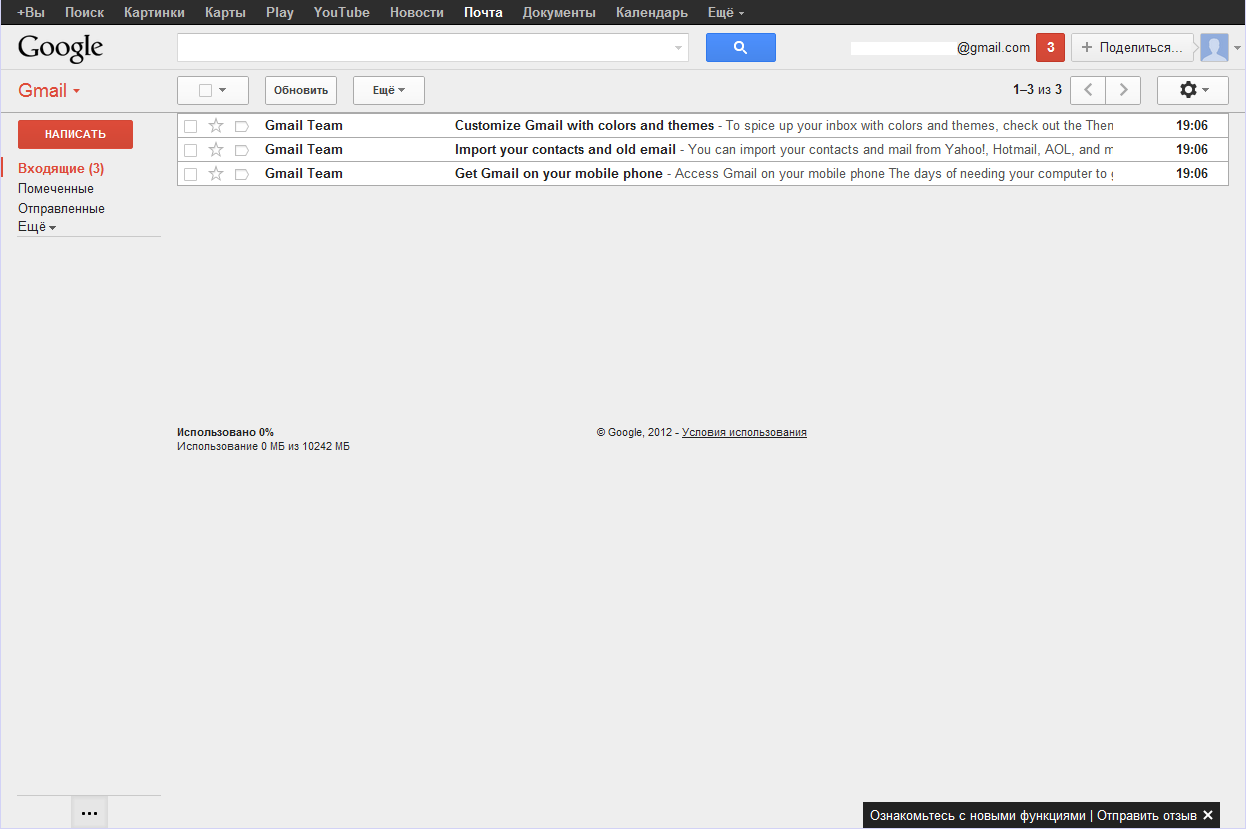
Intermediate changes in gmail
We adjust further.
Turn off the importance markers:
Settings - Inbox - Markers of Importance: check the box "Disable", click "Save Changes".
We remove chat notifications, and enable notifications about new messages (if annoying pop-up windows, or you have a lot of emails coming in, then you do not need to include):
  Settings - General - Notifications on the desktop:
	 We tick off the "Disable chat notifications" and "Enable notifications for new emails"
We put the function of canceling the sending of the letter:
  Settings - General - Undo send.
	 I have 20 seconds.
	 After the changes, do not forget to click "Save Changes" below.
We make a note about reading the letter without delay:
Settings - General - Preview area: put "immediately", click "Save Changes".
We include useful chips:
  Setup - Lab:
	 - Inbox: Preview
	 - Unread unread icon
	 - Setting the location of the signature
	 - Viewing area
	 - Cancel sending a message
	 - Sending messages in the background
	 - Previewing Google Docs in the Mail
	 - Preview Google Maps in the mail
	 - Message Preview
	 - Response templates
	 Click "Save Changes"
We see that there was another button, to the left of the gear (in the screenshot circled in red)
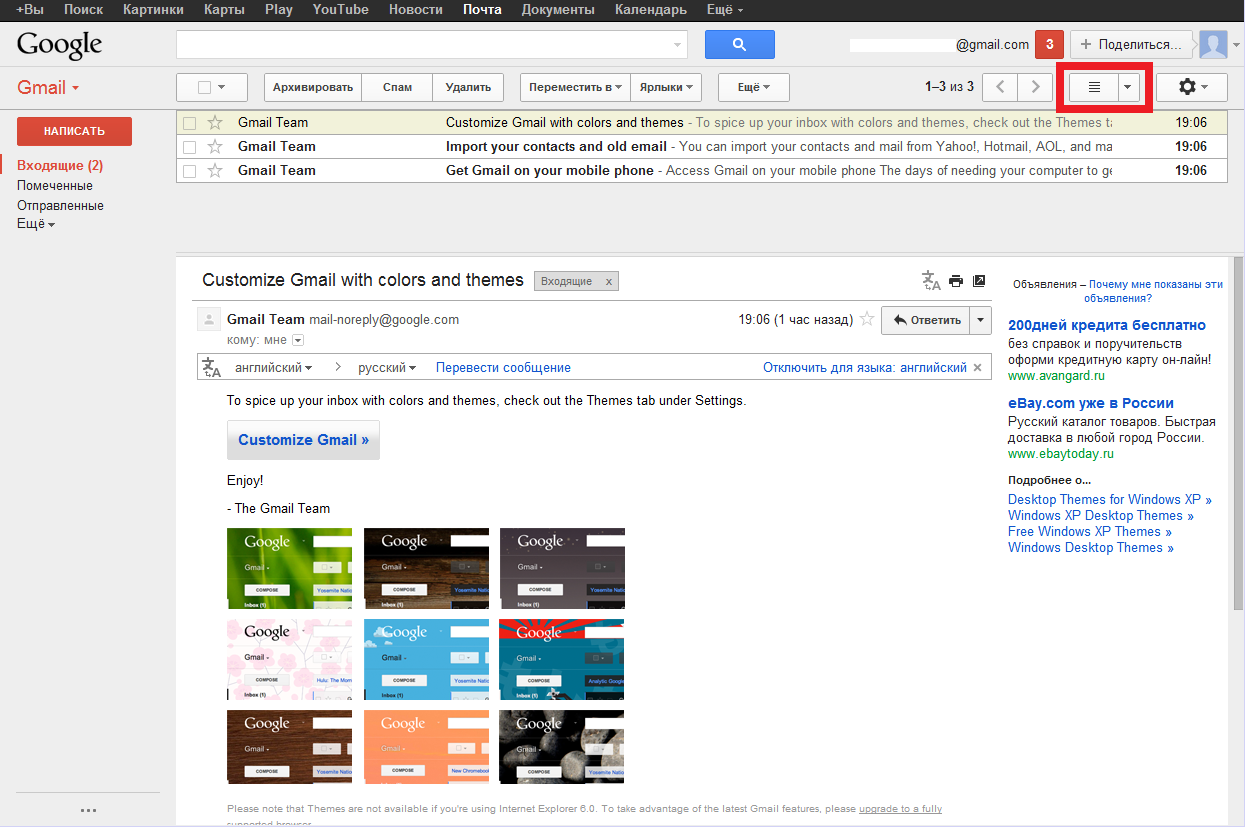
Additional button in gmail
Click it and select "Vertical Separation" , and now read the letters, without going to another page
In the end, after all the settings of our gmail box, that's what we got:
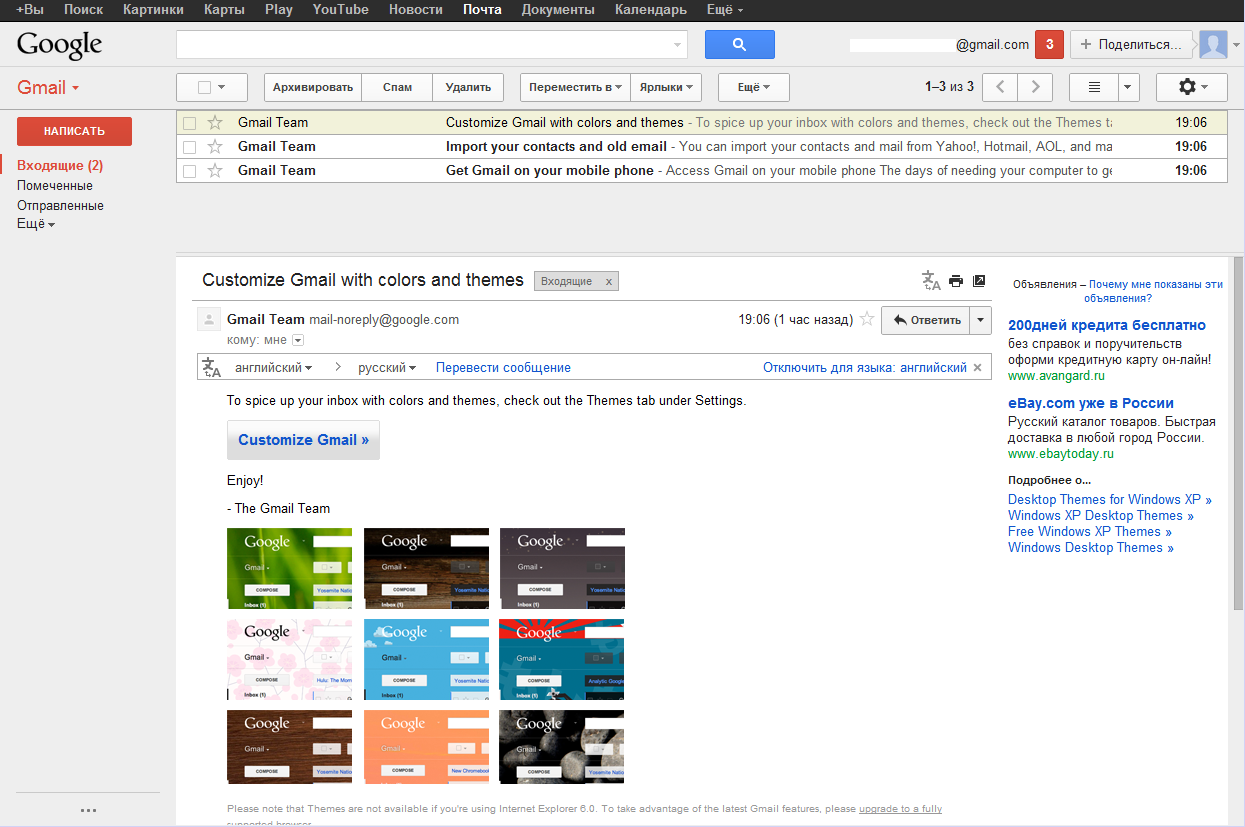
The gmail mailbox after all the settings
Also, if you're not hiding from anyone, then I recommend adding your photo :
Settings - General - My Picture
Google constantly adds new chips and makes the interface more convenient, so some of the points I've covered in this article, over time, may no longer be relevant.
By sergeyabramov.ru


Comments
Commenting on, remember that the content and tone of your message can hurt the feelings of real people, show respect and tolerance to your interlocutors even if you do not share their opinion, your behavior in the conditions of freedom of expression and anonymity provided by the Internet, changes Not only virtual, but also the real world. All comments are hidden from the index, spam is controlled.