
WinPwn 2 [Unlock iPhone 2.0 Manual] + Video
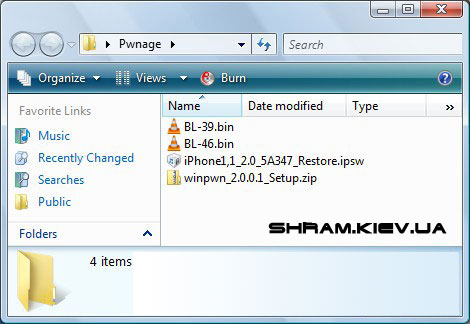
1. Create a folder on the desktop called "Pwnage", which will contain the following files: Winpwn 2.0.0.2, BL-39.bin, BL-46.bin and firmware 2.0 :
For the first generation iPhone:
.
For iPhone 3G:
.
Files BL-39.bin, BL-46.bin can be downloaded here !
The latest version of WinPwn can be downloaded here !
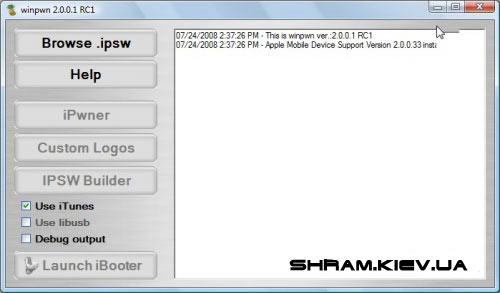
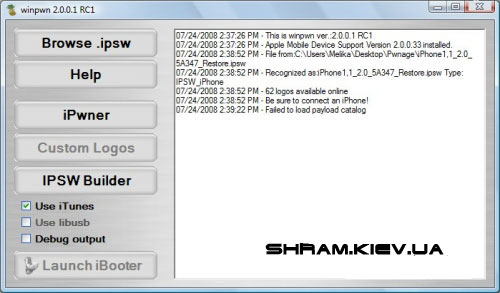
2. Unzip the archive and run the WinPwn installation. After installation, the WinPwn icon appears on your desktop, click on it to start the program.

3. When WinPwn opens, click on "Browse .ipsw"
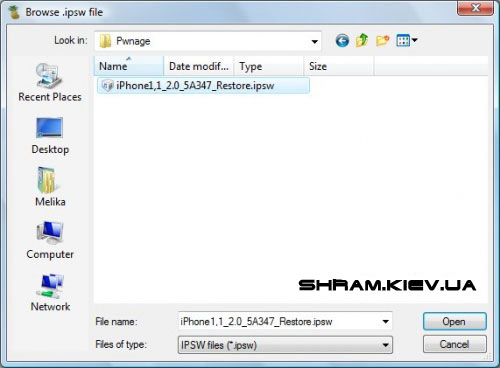
4. Specify the address to the file with firmware 2.0 (iPhone1,1_2.0_5A347_Restore.ipsw), which lies in the folder "Pwnage" and click "Open".
5. When WinPwn checks the firmware, click on the "IPSW Builder" button.
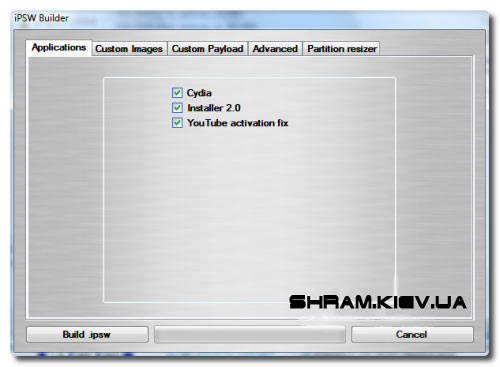
6. The "IPSW Builder" window opens and on the "Applications" tab set three jerks (do not put a check mark in front of YouTube Fix if you have an AT & T operator).
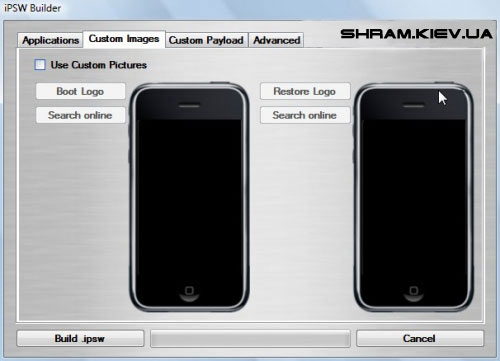
7. Open the following tab "Custom Images". Here you can put "Boot Image" and "Restore Image".
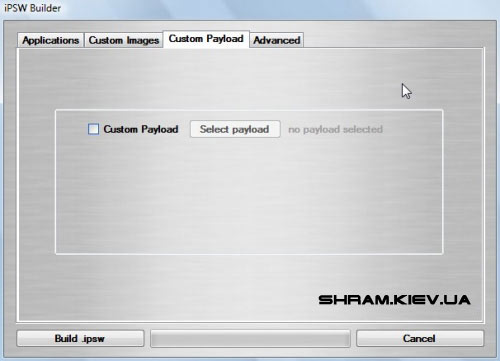
8. Open the next tab "Custom Payload". Here you can select "Payloads".
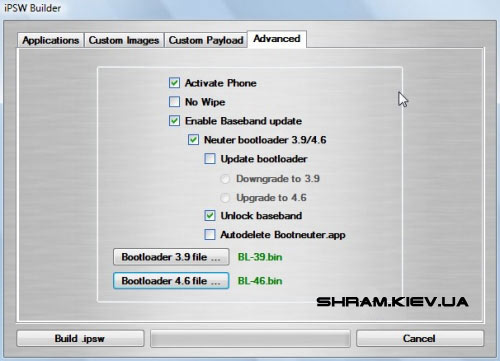
9. Open the following Advanced tab. Here, select "Activate Phone", "Enable Baseband update" and "Unlock baseband".
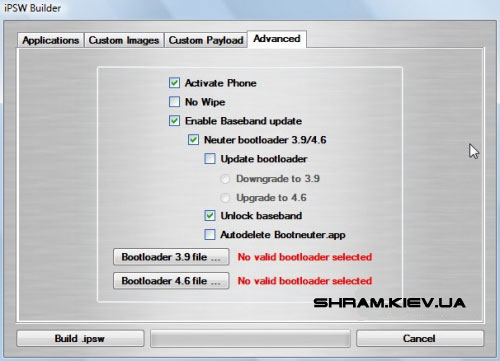
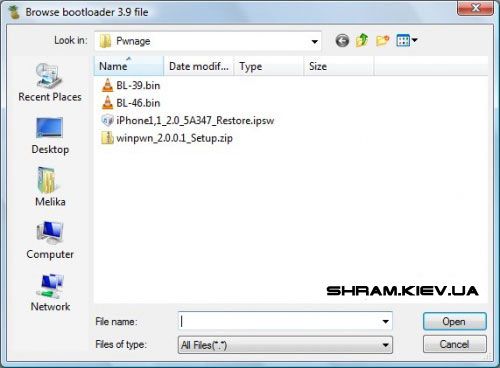
You need to download the files "Bootloader". To do this, click on the "Bootloader 3.9" button and select the "BL-39.bin" file from the "Pwnage" folder. And also click on the "Bootloader 4.6" button and select the "BL-46.bin" file from the "Pwnage" folder.
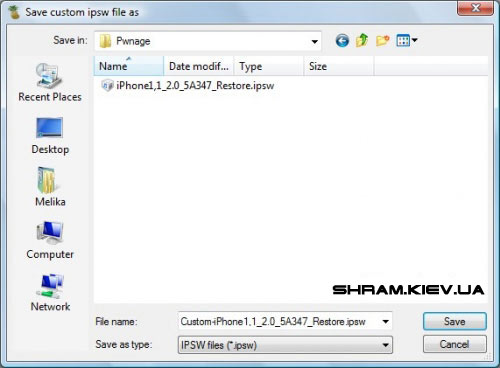
10. Click on the "Build .ipsw" button in the lower left corner to create your own firmware file. Select the "Pwnage" folder and click on "Save".
11. When the save is finished, click on the "iPwner" button in the main program menu.
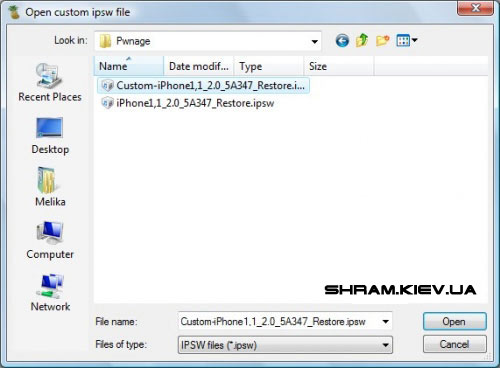
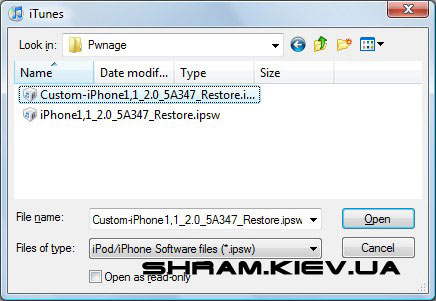
12. Select the firmware file that you just created and click on the "Open" button.
13. A window will open that tells you that "Your iTunes has been Pwned!"
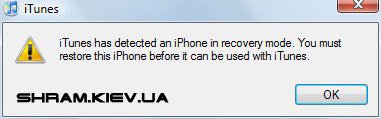
14. Switch iPhone to DFU mode (recovery mode): pinch Sleep / Wake and Home for 10 seconds. The screen goes out. Release the Sleep / Wake button. Continue to hold the Home button for another 10 seconds and iTunes will detect the iPhone in the recovery mode, which will be seen from the appeared window. The iTunes and cable icons appear on the iPhone. We connect the phone to the computer. Launch iTunes.
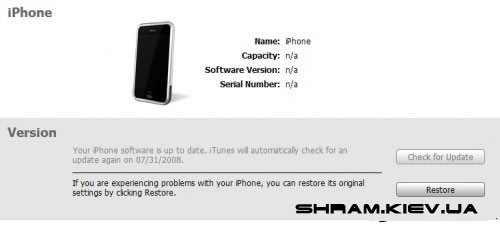
15. iTunes will give you a window that the iPhone is in recovery mode.
Hold down "Shift" and click the "Restore" button in iTunes.
A window will open in which you will need to select the firmware file that you created in WinPwn and saved in the "Pwnage" folder and click on "Open".
When the recovery process is over you will receive an iPhone in which "Unlock" and "Jailbreak" will be executed!
IPhone Firmware 2.0 [questions and answers]
After switching to firmware 2.0 and 2.0.1, some errors began to occur. Let's consider the most popular of them and consider the solution of these problems.
Problem : Mail.app crashes.
Solution : This is due to the synchronization of the backup from iTunes. Access rights are not set correctly. The simplest solution is to run the BossPrefs program and click on "More" => "Fix user dir permissions". Then, restart the iPhone.
Problem : I have a contract with the operator and the iPhone works without activation. I did a Jailbreak and I had a bug that there was no signal.
Solution : This is due to the fact that you have activated the iPhone via additional programs. You need to reflash the phone with a new one, but do not select the iPhone activation option.
Problem : I had an unlocked iPhone 2G. I installed firmware 2.0 and now the iPhone does not see SIM.
Solution : You did not activate the iPhone. Recheck the phone, this time selecting "activate".
Problem : Winpwn can not create custom IPSW firmware. An error is coming out.
Solution : It is recommended to increase the root partition to approximately 550mb. This can be done on the last tab of IPSWBuilder.
Problem : I can not install custom firmware. There are errors 6, 1, 2 and below.
Solution : There are many reasons for this. First, make sure that the iPhone is in DFU mode (recovery mode). Alternative method: delete the file x12220000_4_Recovery.ipsw in the iTunes folder. Also make sure that the original firmware was for your model. (Firmware on iPhone 3G, iPhone 2G and iPod Touch are different).
Problem : Applications from the App Store do not start.
Solution : Uninstall applications from the iPhone and iTunes and sync with the new one.
Problem : I have already restored the iPhone from backup (backup) after the firmware restaurant, but iTunes offers to restore the iPhone again from backup.
Solution : Choose not to restore from a backup, but to create a new iPhone. All data must remain and the error will no longer get out.
Problem : I'm having problems with Installer.
Solution : Installer 4 is on Beta testing, i.e. His work is not yet stable. Use while Cydia.
Problem : I did not install Cydia, but only Installer. I can not install neither Cydia nor applications.
Solution : The only solution is to reflash the iPhone with Cydia installed.
Problem : Cydia crashes and does not work!
Solution : The firmware got crooked. Reseat the iPhone.
Problem : In Pwnage, I can not download any packages.
Solution : Skip this step. Then download everything you need from Cydia.
Problem : I have an iPhone 2G. I need to unlock it, but the jackdaws are gray with "bootneuter settings" gray, and I can not choose them. Why?
Solution : You have chosen the firmware for iPhone 3G, not for iPhone 2G. Download the correct firmware for you.
Problem : After installing the application for a long time, "chamomile" is spinning.
Solution : SpringBoard on firmware 2.0 very much. It may take 5-10 minutes before the application is installed.
Problem : I'm in recovery mode (DFU mode). I get errors: 1604, 1602, 1601 (160x). What to do?!
Solution : There is no unambiguous answer. You can try the following:
1. Make sure that you are using the correct firmware.
2. Restart your computer. Try it again.
3. Try on another computer.
4. Try another USB port.
5. Reinstall the latest version of iTunes.

Comments
When commenting on, remember that the content and tone of your message can hurt the feelings of real people, show respect and tolerance to your interlocutors even if you do not share their opinion, your behavior in the conditions of freedom of expression and anonymity provided by the Internet, changes Not only virtual, but also the real world. All comments are hidden from the index, spam is controlled.