
Beautiful 3D logo in Photoshop
Draw in Photoshop a beautiful and attractive 3D (3D) logo that you can use either on the site, or when creating wallpaper for your desktop ...
From the title of the lesson everything is clear - today I will tell you how to draw a beautiful logo in Photoshop, but not an ordinary one, but a 3D one.
You can use it for completely different purposes, you can, for example, place on the header of the site (make a background more authentic) or make a beautiful wallpaper for your desktop.
In any case, by drawing it, you will understand how 3D objects are drawn in Photoshop.
Beautiful logo in Photoshop
1. Create a new image with a size of 460x438 px, create a new layer and fill it with any color (using the Paint Bucket Tool ):
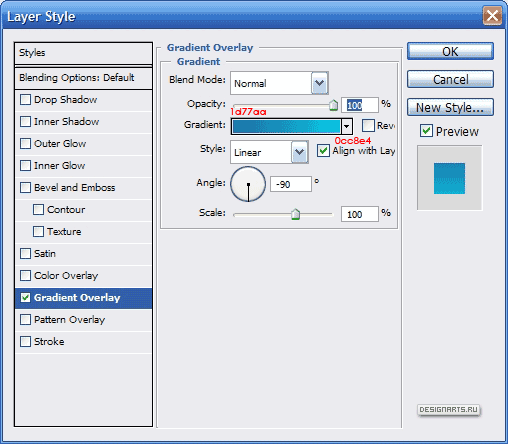
2. Now paint our layer, which will serve us as a background. To do this, click on the layer with the right key (on the layer panel) and select the Blending Options item, in it go to the Gradient Overlay tab and set the following parameters (I indicated hexadecimal color codes in red numbers):
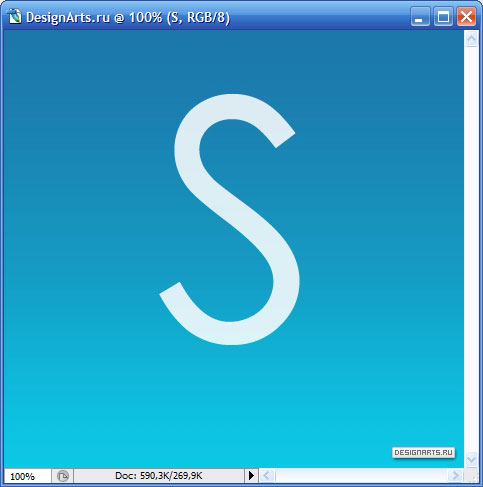
Ok, and we get such-and-such a nice background:
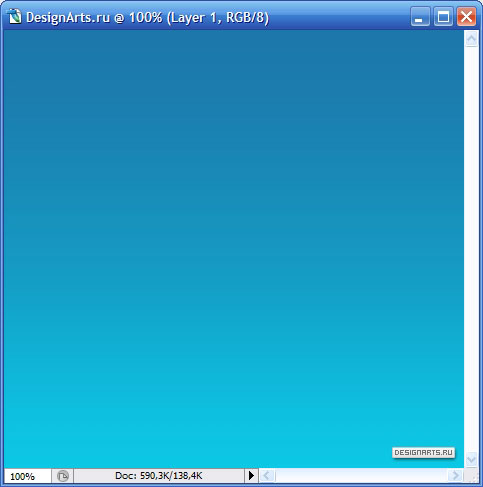
3. Now choose the font you like (preferably simpler and fatter), size the font more (about 250 pt), color - any, and write any letter (I wrote the letter S - the first letter of my nickname):
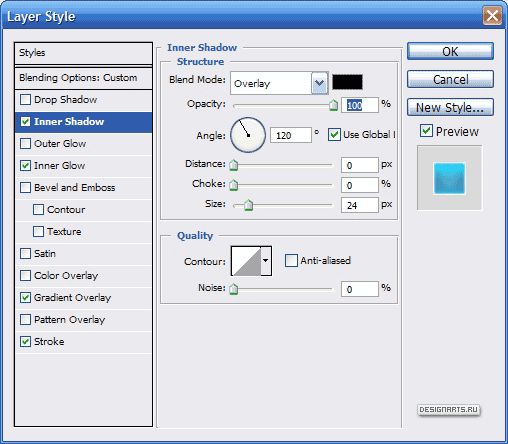
4. Set the opacity of the layer with the letter equal to 85% (the opacity of all subsequent layers belonging to our volume letter, also make 85% equal). Go to the Blending Options layer with a letter and on the tab Inner Shadow (internal shadow), set the following parameters:
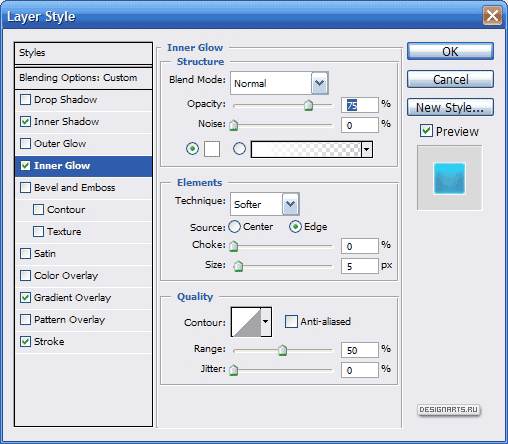
5. Now go to the Inner Glow tab (internal glow) and do it like this:
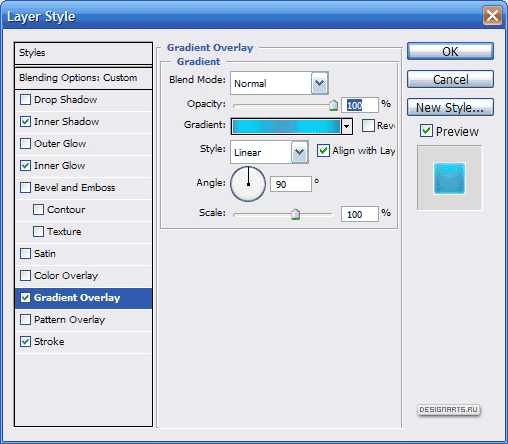
6. And on the tab Gradient Overlay we will do this:
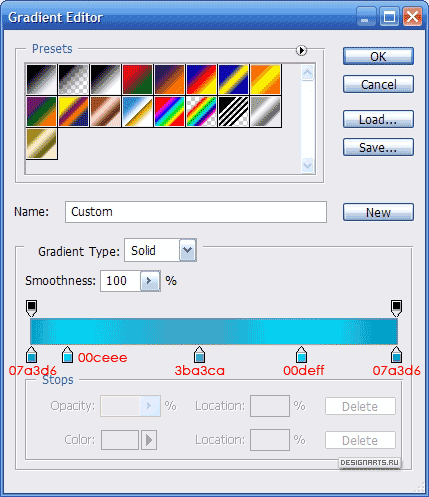
This is how the gradient settings look (to open such a window - click on the strip with a gradient, to add additional squares to specify the color - just click on the place where you want to do this):
7. And now open the last tab - Stroke , and there we will do as I have:
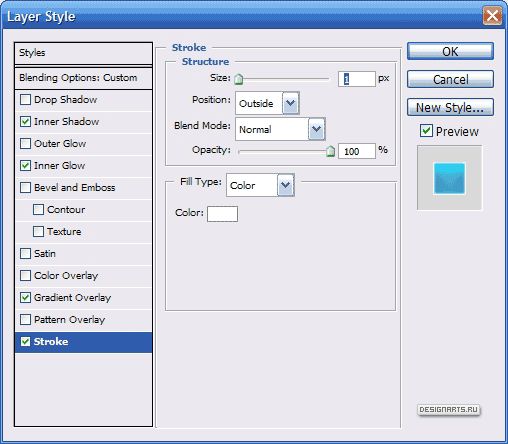
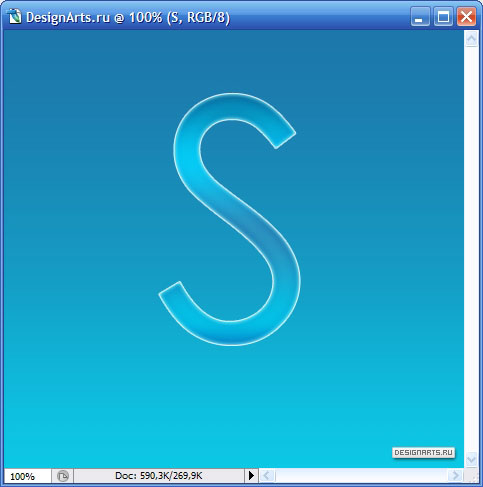
Click Ok and get the following letter:
8. Create a copy of the layer with the letter (for this, on the layer panel move the layer with the letter to the icon to create the layer, or click on the layer with the right key and select Duplicate Layer ) and move it slightly to the left and just slightly down:

9. Recognize the first outlines of a large letter - and soon I will try to turn them into a pretty beautiful logo ... And to make the figure even more voluminous, let's connect the vertices of both letters with white lines. To do this, select the Line Tool and draw the following lines in white:

10. You may think that this is all, but not ... Our volumetric letter has only the front and back sides. Let's remove this drawback. Hold down the Ctrl key and click on the layer with the front of the letter:
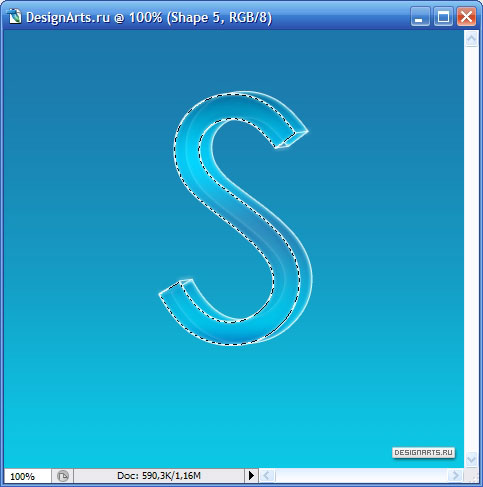
11. And now, without releasing Ctrl , hold down Alt and click on the layer with the back side of our volumetric letter:
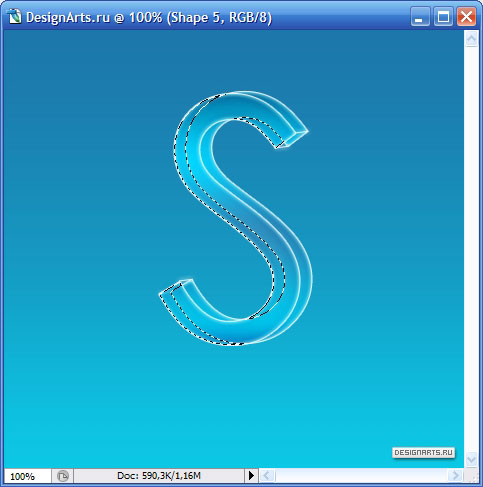
12. Some corners of the figure remained unselected. To do this, select the Polygonal Lasso Tool and select the unaffected corners (so that the previous selection does not disappear, hold down the Shift key ):

13. Good. Now create a new layer between the layers with the back and front (front) parts of the shape and fill the selection with any color:
14. Now apply to the layer just created by us the same effects that we applied to the layers with the front and back sides of the letter. This is done very simply. Click the right button on the layer with the back of the 3D shape and select Copy Layer Style , then right click on the layer to which we want to apply the effects, and select Paste Layer Style :
15. This we have created the left side of the future volumetric logo. Now we need to create the right one ... What we do is: hold down Ctrl and click on the layer with the back side of the shape, then in addition to Ctrl click Alt and click on the layer with the front side of the shape:

16. Using the Polygonal Lasso Tool, add the unselected corners to the selection (so that the previous selection does not disappear, hold down the Shift key ), then create a new layer between the layers with the front and back sides of the shape and fill the selection with any color:

17. Add the same effects to the just drawn right side of the figure that we added to the other sides (click on the layer with the right key and select Paste Layer Style ):

18. If you think about it, you can notice that there are still two unpainted planes - they can not be touched, tk. They are small and almost invisible, but still I will do it. Select the rest of the figure (see the picture below) and fill it with any color:

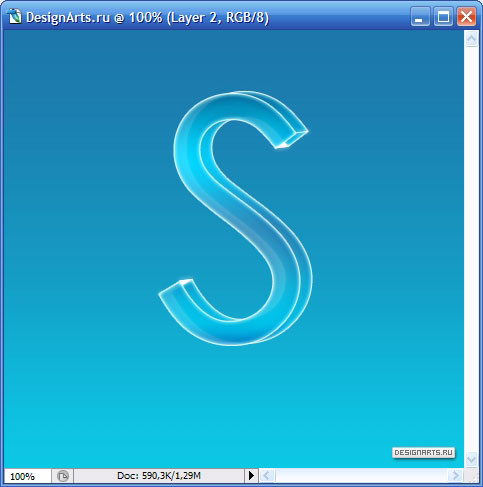
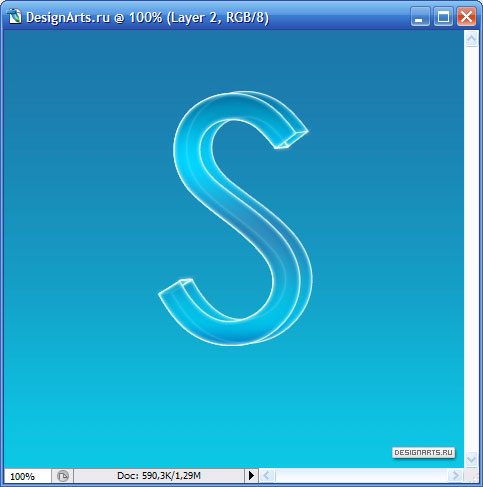
19. Apply the same effects to this plane as before:

20. So we drew a three-dimensional shape (or logo - name it as a hit).
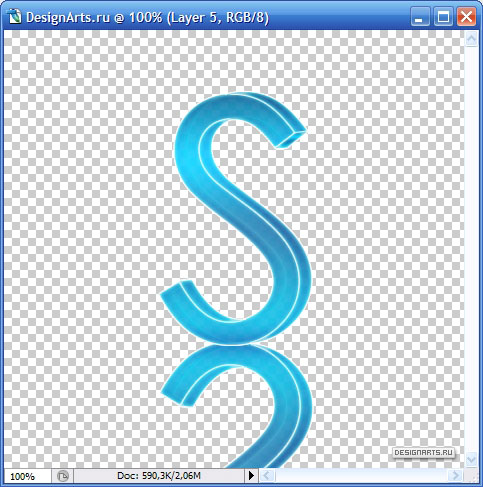
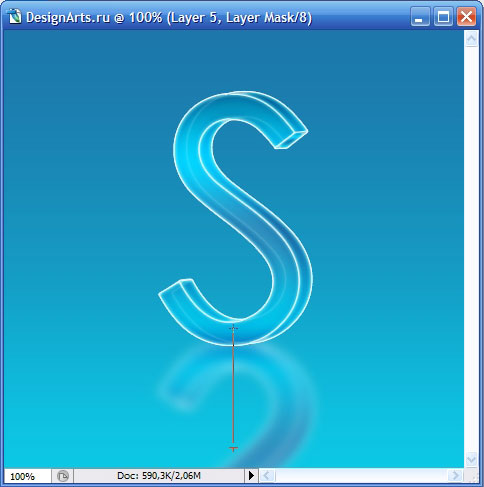
Let's make a reflection. To do this, disable the layer with the background (on the layer panel, to the left of the layer, there is an icon in the eye view - click on it to make it disappear). Now select the entire workspace ( Ctrl + A or Select -> All ) and copy the visible image ( Shift + Ctrl + C or less Edit -> Copy Merged ), then paste the copied image ( Ctrl + V or Edit -> Paste ) And place it under the layer with the underside of the letter. Reflect the image vertically (in the menu Edit -> Transform -> Flip Vertical ) and place it as follows:
21. Mirroring the reflection (in the menu Filter -> Blur -> Gaussian Blur ... ) with a blur radius of 5 pixels:

22. You should get something like this:
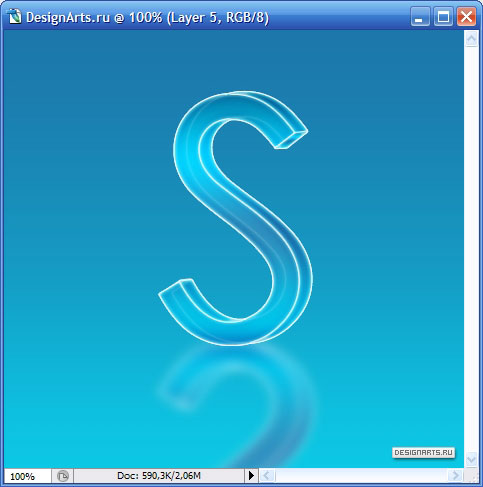
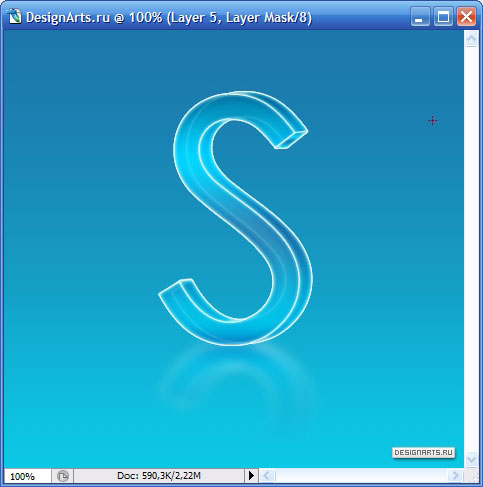
23. Make the reflection more real. Add to the layer with the reflection a mask - for this select the layer with the reflection (click on it with the left key - on the layer panel) and click on the third left icon (in the form of a dark rectangle and a light circle in the center - on the layer panel) or through the menu: Layer -> Layer Mask -> Reveall All . Now select the Gradient Tool , select the black color and fill the reflection from the bottom up:
If you did everything right, you should get it the way I do:
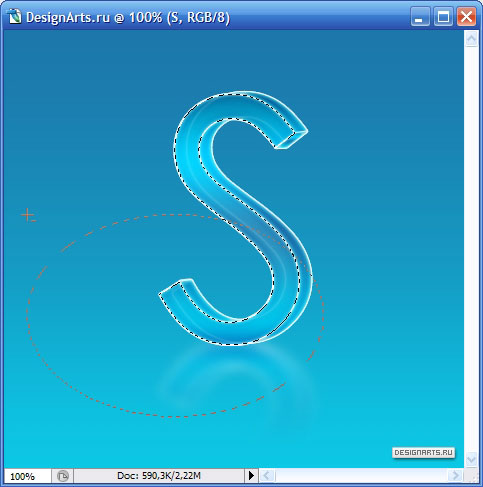
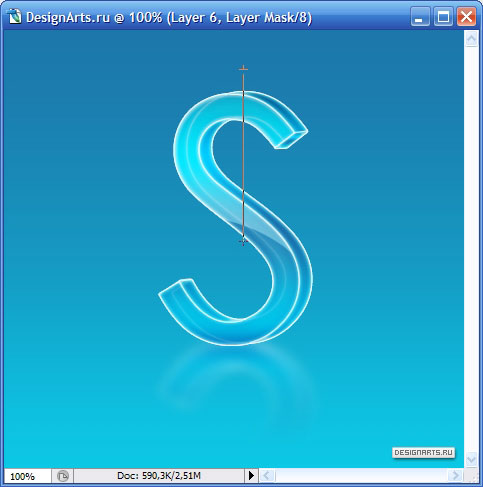
24. Now we will make our logo even more voluminous - we will add glare. To do this, select the layer with the face of the shape (press Ctrl and click on the layer that we need) and exclude part of the selection (select the Elliptical Marque Tool , press Alt and select the desired part). The selection should look like this:
25. Create a new layer and place it above all layers. Let's highlight the selection with white color (using the Paint Bucket Tool ):
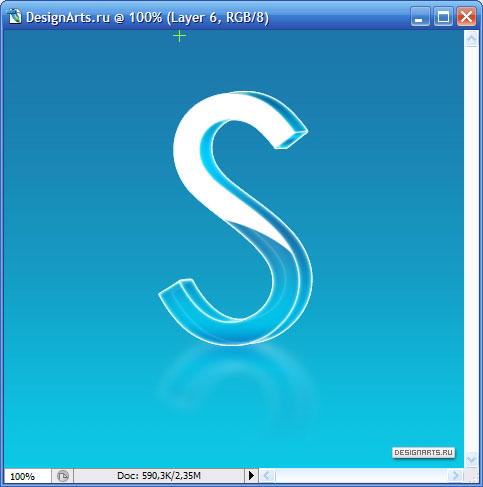
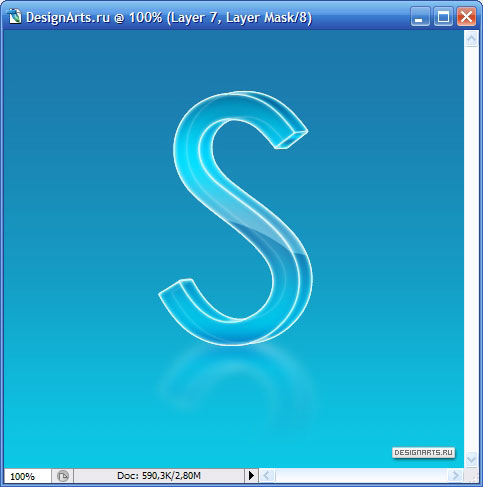
26. Change the Normal parameter of this layer to Soft Light (it's on the layer panel, from the top). Then add a mask to this layer and fill it with a gradient from top to bottom (in the same way as when creating a reflection):
27. Now select the part of the right side:

And apply the same effect to it:
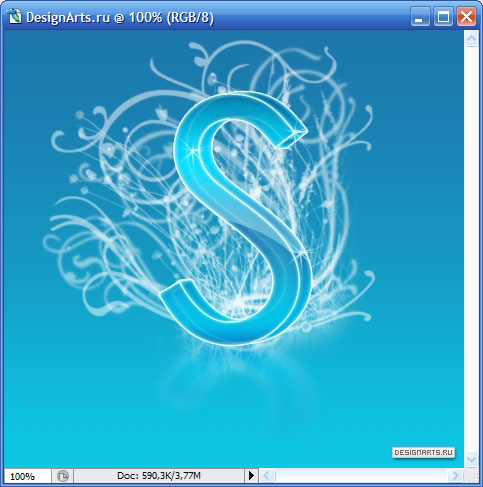
28. Choose a set of brushes named Assorted Brushes , in this set, choose a brush in the form of shine (I do not know what to call correctly - look below) and draw this way:

29. Under the layer with the letter, create another layer, opacity of the layer ( Opacity ), put about 70% (to taste) and white color, like a brush, something we draw:
30. Now create another layer, but above the figure, and also draw something on it:
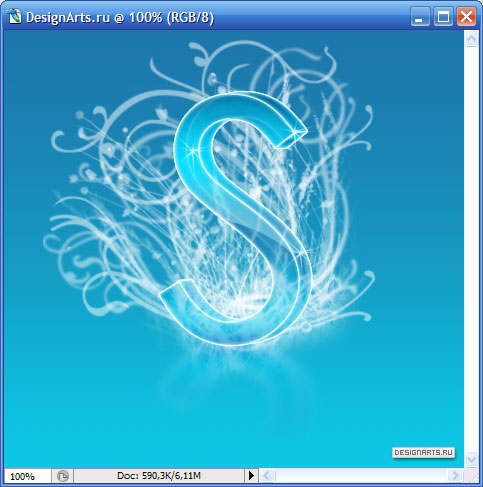
31. That's all. "You can chemise for a very long time, but to start it is enough and this - and so the lesson turned out to be very large. But I also added the name of this site and the hatching:
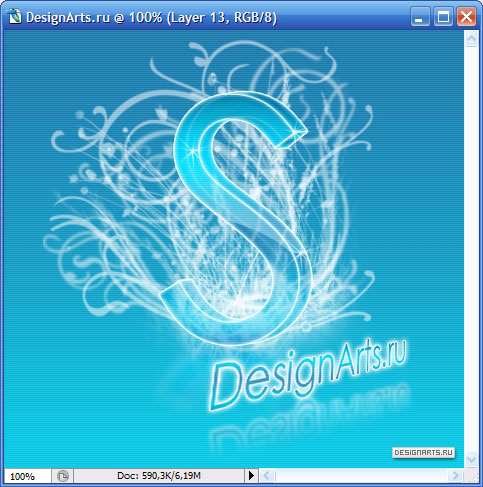
The logo was very attractive. You can make the background a little more and then you will get beautiful wallpaper for your desktop, and you can make a header for the site ...

Comments
When commenting on, remember that the content and tone of your message can hurt the feelings of real people, show respect and tolerance to your interlocutors even if you do not share their opinion, your behavior in the conditions of freedom of expression and anonymity provided by the Internet, changes Not only virtual, but also the real world. All comments are hidden from the index, spam is controlled.