
Cover production, for 400 liters. Oval aquarium, with their own hands
Having purchased an oval aquarium 1500x500x600 by an unknown company, it turned out that the standard covers are not suitable for it, and besides, in the factory covers there is a place for two lamps, and this is not enough for successful growing of plants.
Without hesitation I decided to make the lid myself. Having studied on the Internet the information on materials from which it is possible to make a cover, has found two kinds of the material most suitable for manufacturing. In the first place, high- impact polystyrene , and alternative, foamed PVC (more suitable for the production of caps for small aquariums). These plastics can be purchased at companies selling materials for advertising.
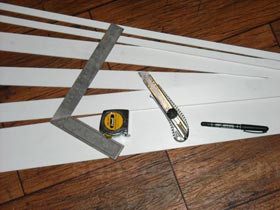
Since I did not manage to get a shockproof polystyrene in the nearest company, I had to limit the foam 4 mm thick PVC. The greatest density. In addition, they purchased PVC adhesive, Cosmofen CA12 50 ml.
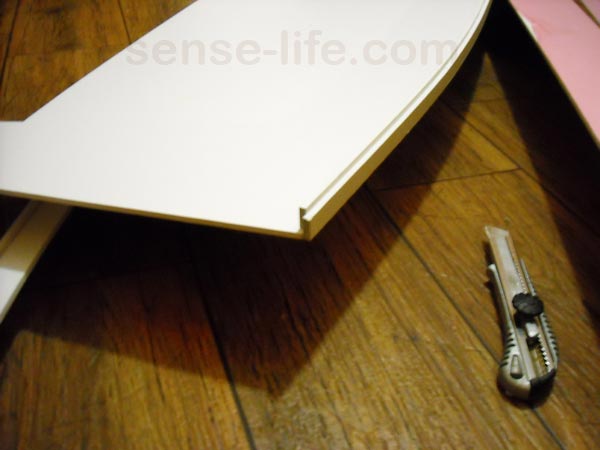
Sheet PVC is very easily cut with a construction knife, but it should be noted that the blade of the knife should be thicker, otherwise when cutting a thin blade on the edge of the sheet will be a shallow wave, which in turn will have to be treated with sandpaper.
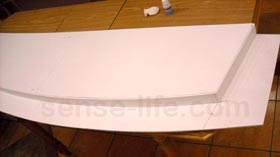
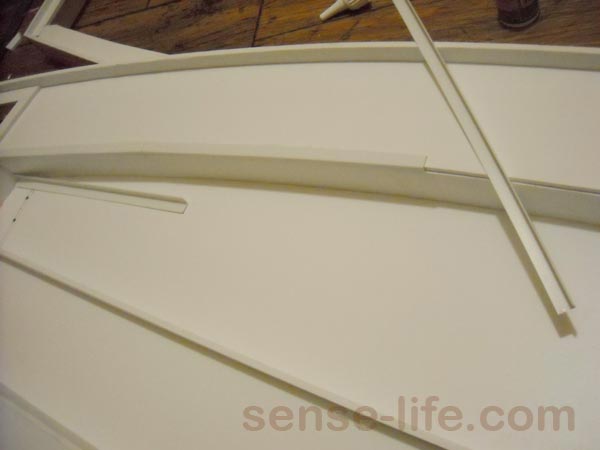
Starting to make the lid on the aquarium, we cut the strips of PVC plastic.
The lid was made without any drawings, and when manufacturing was guided only by a sketch. And since I wanted to get a comfortable cover with an original design, the manufacturing process became more complicated and took a little longer.
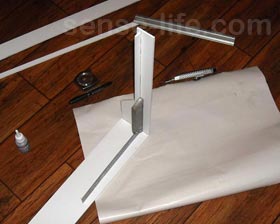
The base of the lid was glued in a couple of hours. Glue is necessary on a flat surface , since even a PVC strip 90 mm wide bends along the axis to 10 mm.
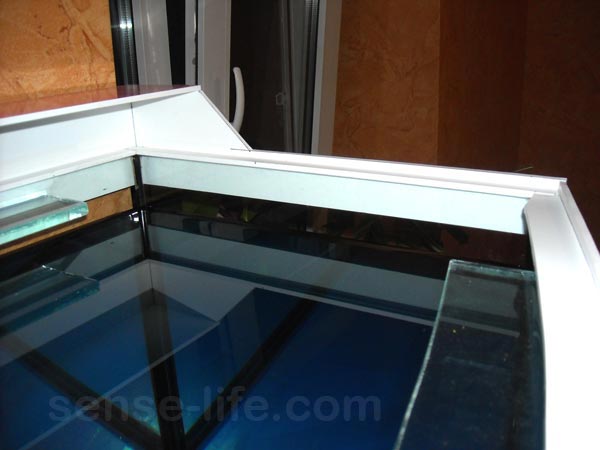
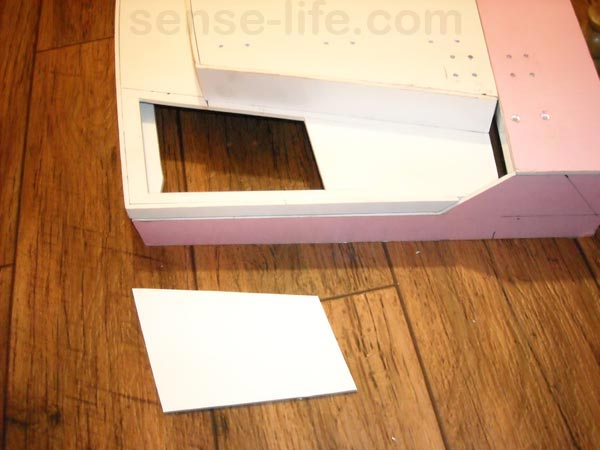
After the base was glued, proceeded to make the lid itself. To get the correct radius, put the plastic on the aquarium and from the bottom outlined the line of the cut with a marker.
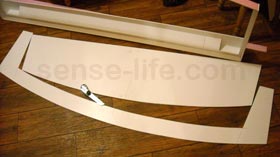
Both parts were useful to me, I pasted only a strip with a width of 40 mm.
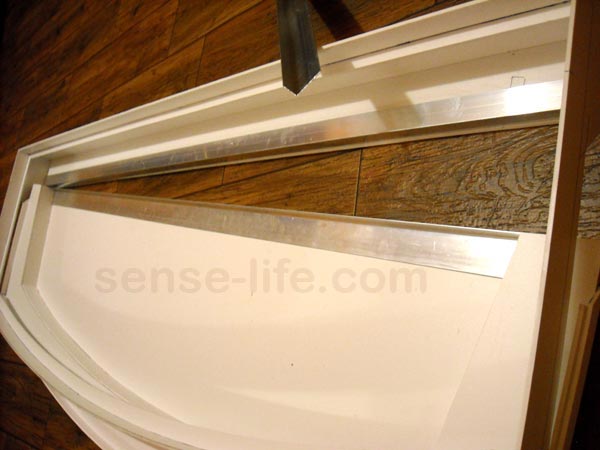
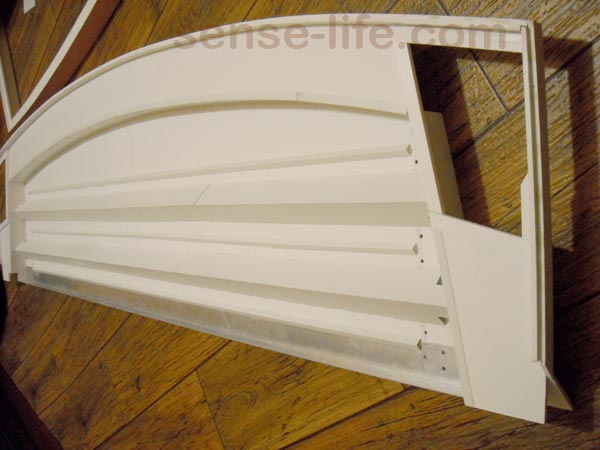
On the perimeter glued a bezel from two strips of PVC 15 mm wide.
In the places of fixing the furniture canopies I glued aluminum 20x40 for stiffness.
After calculating the places for the lamps, we pasted the stiffeners between them. These hardness ribs will be glued with plastic corners 40x40, which can be purchased in the construction market (used for sticking on slopes)
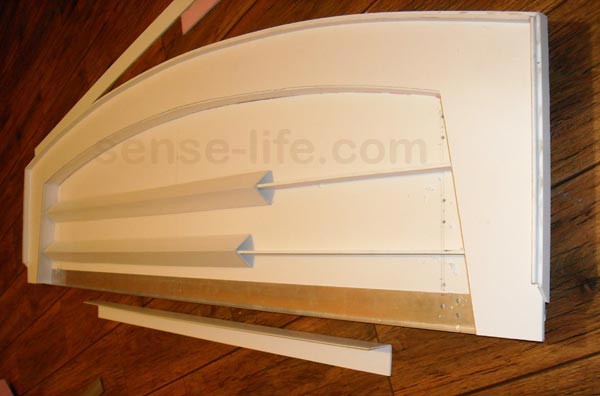
We cut out places for feeding.
For reliability, the outer and inner corners of the cover are pasted with a corner 10x10
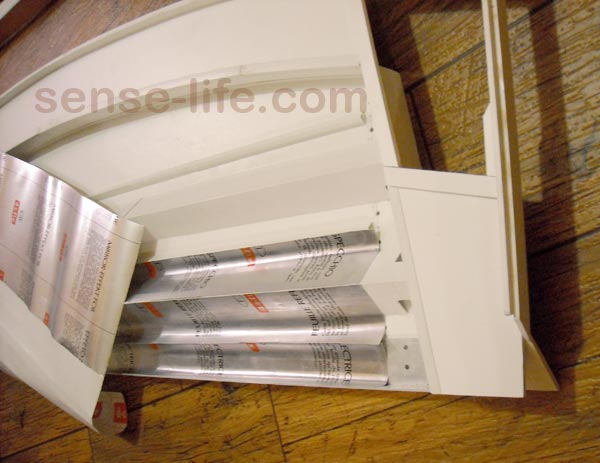
Then the same 10x10 corners were glued under the lamps, and the corners 40x40 between the lamps. They will serve as reflectors.
After that he proceeded to pasting with a mirror self-adhesive film. The self-adhesive imitation mirror turned out to be very rigid and had to be glued with strips.
After the external pasting of the film, we screw the furniture canopies. But before you drill the holes under the canopies, I highly recommend that you read how they work. Since if you set them in the center (as I did), then the lid will not open and you will have to fit a strip of plastic.
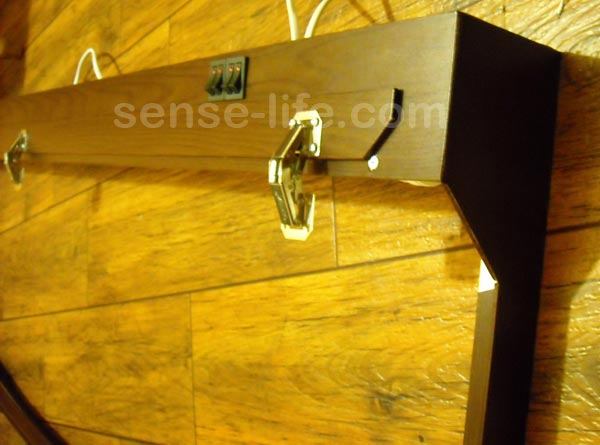
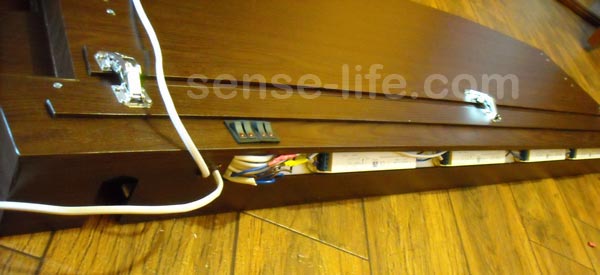
After the lid is fully assembled and glued, proceed to the installation of the electrical part. In my case, each lamp decided to use a separate starter and for each pair of lamps a separate time relay.
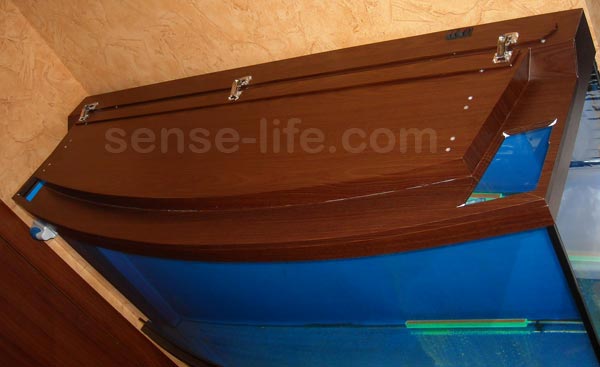
The lid is assembled and installed. As it turned out, it turned out to be tough and very convenient at opening and closing. Three lamps that are installed in the lid at the time of opening can be turned off by tumblers, the fourth lamp that is mounted in the base will illuminate when cleaning the aquarium.
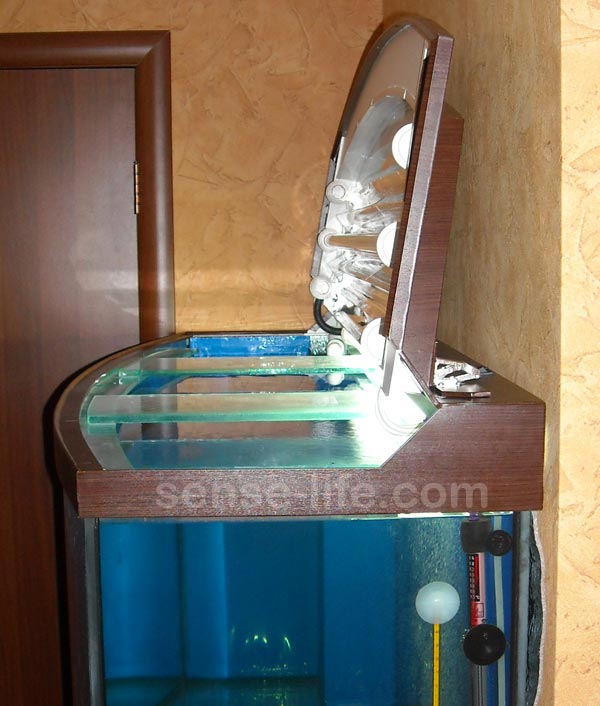

It remains only to attach moonlight to the cover and work on the design.
There will be questions or suggestions, write on the forum.

Comments
Commenting on, remember that the content and tone of your message can hurt the feelings of real people, show respect and tolerance to your interlocutors even if you do not share their opinion, your behavior in the conditions of freedom of expression and anonymity provided by the Internet, changes Not only virtual, but also the real world. All comments are hidden from the index, spam is controlled.