
Making jewelry with their own hands.
As always, I sit down to sculpt without a single thought in my head, but I want to try experimenting in creating jewelry made of plastic FIMO ...
 |
1. Collected everything that, in principle, can be useful in the course of work: a glass for rolling plastic, a knife, screwdrivers, knitting needles, toothpicks, molds - well, is it not enough to then not run, look for |

|
2. I have not worked with FIMO for a long time, therefore some colors became rather rigid and when they tried to roll them out, they cracked and crumbled |
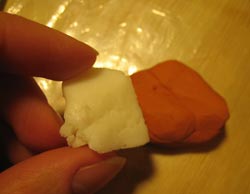 |
3. It is necessary to take a small piece of softener, wrap a placard in it and knead it. |
 |
4. According to the instructions of the softener should not be more than plastic. I will not check what will happen if I take it more, I will follow the instructions 
|
 |
5. Once the mass has become homogeneous, the plastic is ready for further use. |
 |
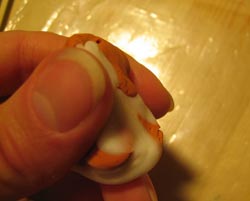
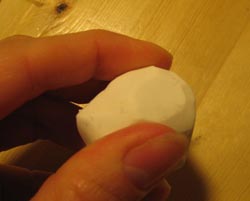
6. If you store plastic in a general package, you can not be surprised that he looks so indecent before the next start of work. |
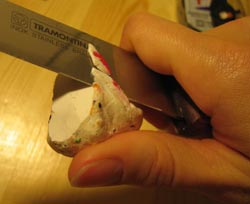 |
7. H-e b-e-d-a! I cleaned it with a regular knife like a potato
|
 |
8. Well, quite another thing! Now you can work with him. |
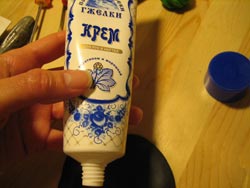 |
9. By the way, a very important point - before you start work, you must wash your hands with soap and spread them with hand cream. It helps a lot that plastic does not get dirty, especially black color - it's quite brandy. |
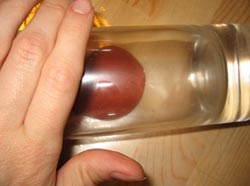 |
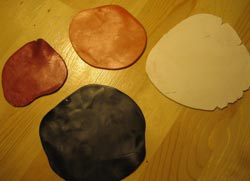
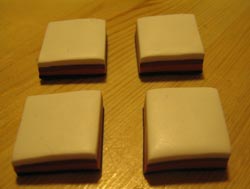
10. Well, now everything is ready and you can start working. To begin with I will roll out a platte thin tortillas, using a usual smooth glass (it is possible to do it also a rolling pin, preliminary having greased with its vegetable oil) |
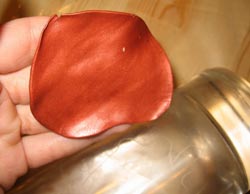 |
11. Well, in principle, it turned out okay By the way, during the rolling process, I figured out how to make the layers smooth - but write about this in a separate article
|
 |
12. These are the cakes. By the way for smooth division of plastic on it there are strips. And I got it as it turned out - also not bad;) |
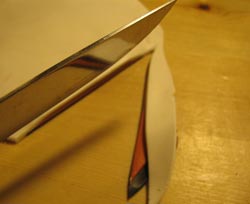 |
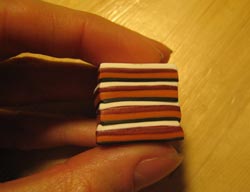
13. I put the layers on top of each other and made the first cut ... Class! And then the first idea came: to make striped rectangular beads! |
 |
14. To do this, cut all edges to get a square. |
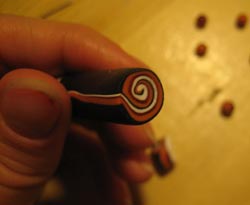 |
15. And the scraps of the sides were rolled up and cut, so the spiral beads turned out
|
 |
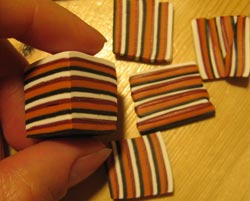
16. Pay attention to the combination of colors - I really like it, almost universal. In addition, when making jewelry, a selection of colors is very important. |
 |
17. Cut the croat into 4 equal parts. |
 |
18. Folded them together, crushed them ... |
 |
19. And trimmed the edges with a knife. Like this! It turned out a blank for beads. |
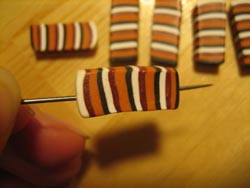 |
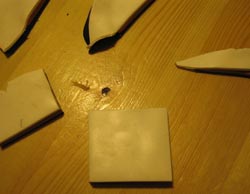
20. I cut the beads and pierced the holes with a needle. Only later, when I began to string beads, I realized how wrong I was with a needle - now I use only a toothpick for this purpose
|
 |
21. The hole must be made before baking, during baking it does not deform. |
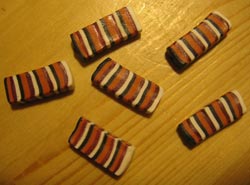 |
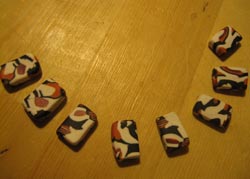
22. Well, my striped rectangular beads are ready, let's go further ... |
 |
23. At first I was a little upset when I saw so many remnants, but then it turned out that this awesome stuff was for exclusivity ... |
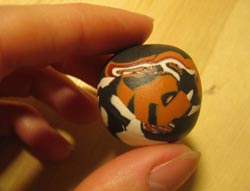 |
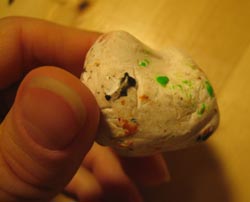
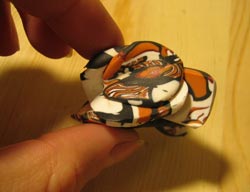
24. Look how cool. Just chaotically blinded the remains and rolled them into a ball. |
 |
25. And then she cut it again and was stunned! Super! After all, you can make such beads - unique! |
 |
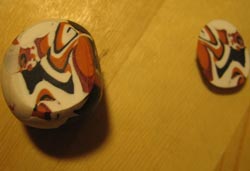
26. I again cut off all the edges, got a cube, and cut it first into 4 parts, then decided that a small number of beads is obtained ... |
 |
27. And divided each one in half - that's already something! |
 |
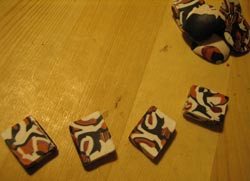
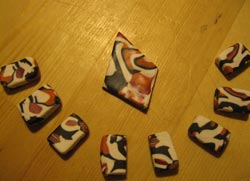
28. By the way, this cut also did not leave me indifferent and I made a suspension from it
|
 |
29. She put it on a flat cake of black plastic and cut off the edges in the form of a diamond. |
 |
30. There you have the remains
|
 |
31. By the way, I was so inspired by the idea of "recycling" the remnants that I could not resist and from the rest I also made buttons But this is a separate topic, I will not talk about it here ... |
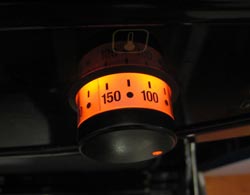 |
32. When all the beads are ready, turn on the oven. It is best to put the plastic to bake already in the preheated oven, because the heating time of the ovens is different, and sometimes the oven itself also unevenly heats up inside from different sides. |
 |
33. Therefore I heat the oven to 130C, put the plate with plastic exactly in the center and take it out after exactly 30 minutes. |
 |
34. Even when your beads are ready, the creative process on this will not end - because they can be made in different ways - and again to show imagination! |
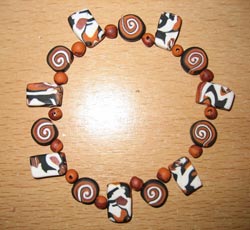 |
35. Or like this. |
 |
36. Now it remains only to string. You can use any convenient materials for the connection - fishing line, elastic band, special hooks. Look in the sewing accessories department - there's sure to be all this
|
 To return platichnost, you need to either lengthen the plastic for a long time, or simply use a softener for plastic.
 The most important thing in creativity is your work, your mood, the inestimability of which in the end deserve your owner
It's better crooked, but with a soul and with all my heart! Believe it for you and for people close to you - it will be the most priceless gift, much more valuable than ideally painted art paintings and perfectly thought out corporate design! After all, this is care, attention and time spent only for you!
Therefore, go for it! Try it! Be inspired!
Creative successes to you!

Comments
When commenting on, remember that the content and tone of your message can hurt the feelings of real people, show respect and tolerance to your interlocutors even if you do not share their opinion, your behavior in the conditions of freedom of expression and anonymity provided by the Internet, changes Not only virtual, but also the real world. All comments are hidden from the index, spam is controlled.