
How to make a knife from Damascus steel.
Damascus steel is a very versatile material that allows the blacksmith a lot of opportunities to realize what he has conceived. Modern steel used for making Damascus, allows you to achieve any desired properties of the future blade, but in the modern context of understanding Damascus steel, no less important, is to obtain a beautiful pattern on the metal , and here the scope for realizing the desires is much greater. Heights, which have achieved many famous masters of modern times, are admirable.
But there is another direction in the development of Damascus steel - this is the use of secondary materials , on which I would like to stop in detail. It should be noted that these materials do not allow to achieve from the blade in excess of the properties, they are more pathos, but many like the concept that their blade is a rebirth of another material.
The obvious favorite here is the damask made of cables, the metal of which, the cables are made, make it possible to get a good blade material, but due to the large pattern does not give the increase of cutting (damask) properties
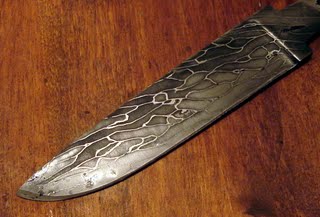
Figure 1. (a dam of a cable with a large pattern)
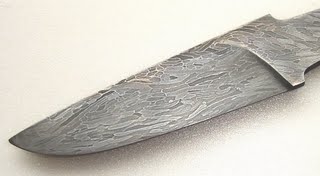
Figure 2. (a small piece of cable with a small pattern)
But there are also cables that do not allow you to get good cutting properties (because of the small amount of carbon), in this case the cutting edge is welded to the body of the blade from the blade metal or damascus, or a laminate is made - where the center of the blade material, and the plates from the decorative Rope damask.
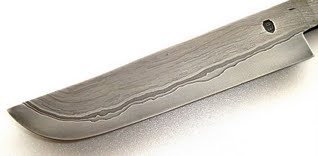
Figure 3. (face welding: cutting edge shx15, body damask from the cable).
It should also be noted that although if the material does not have good cutting properties, but in the implementation, both in the laminate and in the face version, the cable due to its elasticity allows using a very hard but brittle metal on the cutting edge, Compensates for the elastic cable. Such a blade will quickly bend, non-living, will break.
Also widely used are secondary materials such as chains, most often using either chains from chainsaws, or motor chains of gasoline engines.
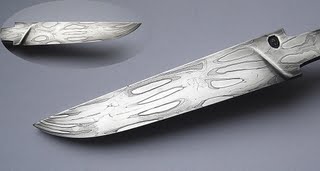
Figure 4. (Damascus from the motor chain).
More rarely, grids are used, their properties are basically similar to those described above.
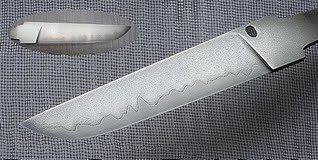
Fig. 5. (laminate: in the center of the shaft 15, the damask covers from the grid, against which the blade is removed)

Fig. 5.1. (A laminate: in the center шх15, a damask cover from a grid, on a blade the texture of a grid is left)
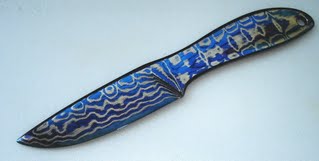
Fig. 6. (laminate: in the center of 15, damask overlays using a stainless mesh).
It should be noted that similar materials suitable for the manufacture of blade damask are quite small, in this article I want to introduce you to the process of manufacturing a blade from a wire skein. The essence of this experiment in obtaining a new design on the finished blade.

Fig. 7. (coil of wire).
First of all, we are trying to find out the approximate chemical composition of the wire, this is necessary in order to find out whether it is possible to weld it with forge welding and the approximate amount of carbon - this is necessary to find out whether the finished blade will be hardened. This complex analysis we carry out quite simply - a test for the spark.

Figure 8. (spark test).
According to the spark, we see that the metal is not alloyed, which tells us about the possibility of its welding by the mining method and the fact that the amount of carbon is 0.8-1%, which allows us to assume that the metal will take a worthy hardening. Also, there is the possibility of burning carbon in the gauze welding, but this we can only test after welding.
Further, for convenience of further processing, it is necessary to anneal, this operation is carried out in a muffle furnace
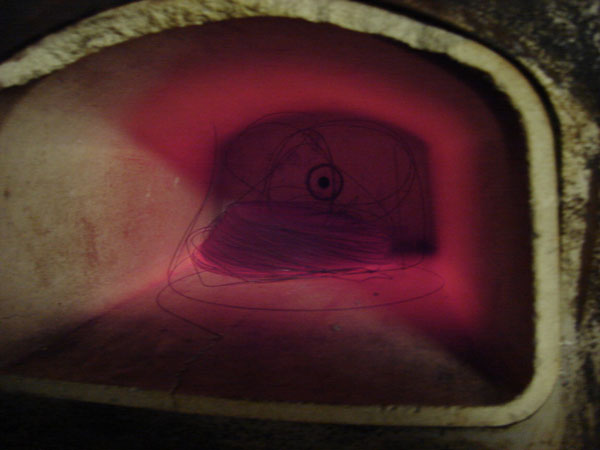
Figure 9. (annealing).
We heat up to an austinite transformation and let it cool down with the furnace. After that, the wire becomes soft.
The next operation is the formation of a package for the welding of the furnace, since the wire has become soft enough, we can bend it into a convenient shape, after which one end is wrapped with a soft iron and welded by electric arc welding. A strip of iron is necessary for the possibility of using electric welding, because the wire is very thin and it would just burn out. After welding the handle from the armature, for convenience of retention when welding and further forging.
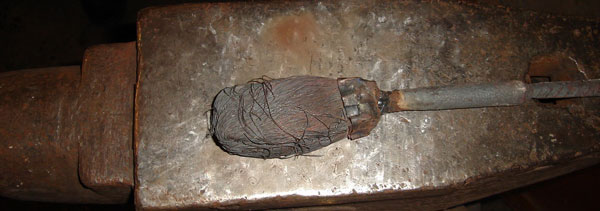
Figure 10. (blank).
Now heat our preform to about eight hundred degrees. I use a gas horn, it has a number of advantages, such as a constant restorative atmosphere and everything is clearly visible in it, what is happening.
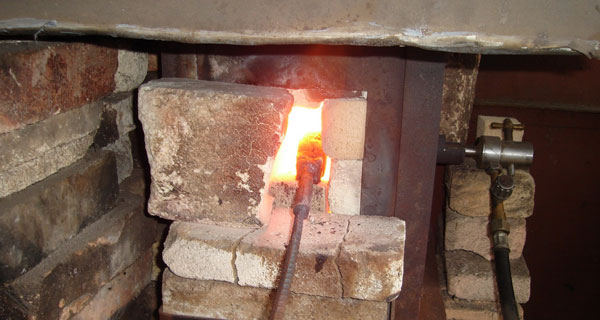
Fig. 11. Gas horn.
After that, sprinkle a lot of brown. The drill is needed to dissolve the scale and protect the metal from oxygen - this is important for conducting high-quality forge welding. After that, we conduct the welding itself
Fig. 12. (browning).
Welding is carried out on a bar of wood, this is necessary to protect the workpiece from oxygen, the fire that appears from the contact of the workpiece and the tree, burns oxygen and creates a reducing environment outside the furnace. And also for a less heat transfer to the workpiece - that is, the wire is very thin and quickly cools when it contacts the anvil.
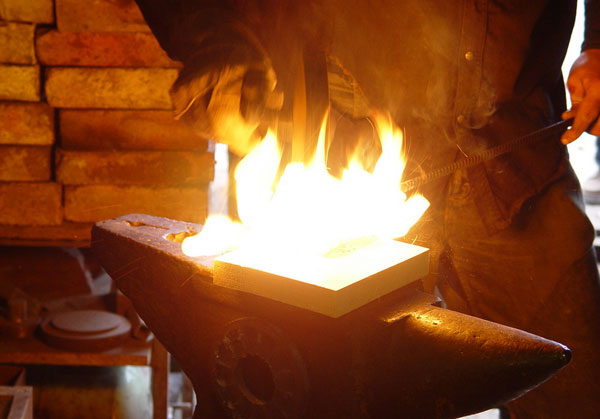
Figure 13. (Welding).
After the arc welding, we cut the workpiece to the required dimensions, in this case we are going to torsion the workpiece (twist it) - so we cut into a square with a side of twenty mm. We measure the collar, which the workpiece will be twisted.
Figure 14. (raskkovka).
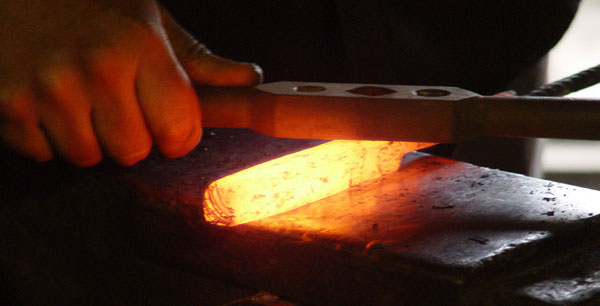
Figure 15. (preparation for torso).
Now that we have prepared the workpiece, it is important to figure out how the pattern will be opened, at this stage the fiber is positioned along the workpiece and the final product will not be very effective. You can twist it - but then you get the same metal pattern as the usual cable, so in this case we twist in different directions with a step of about one and a half two centimeters
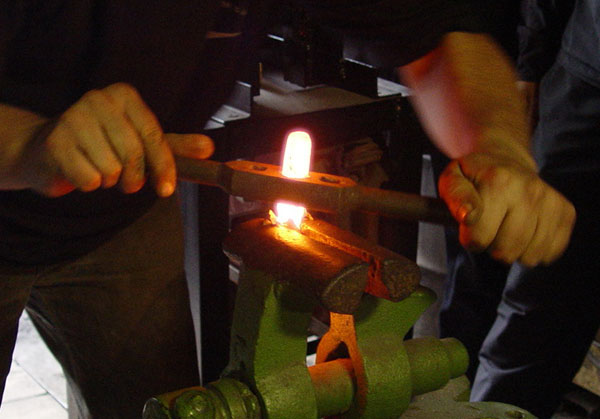
Figure 16. (torsion).
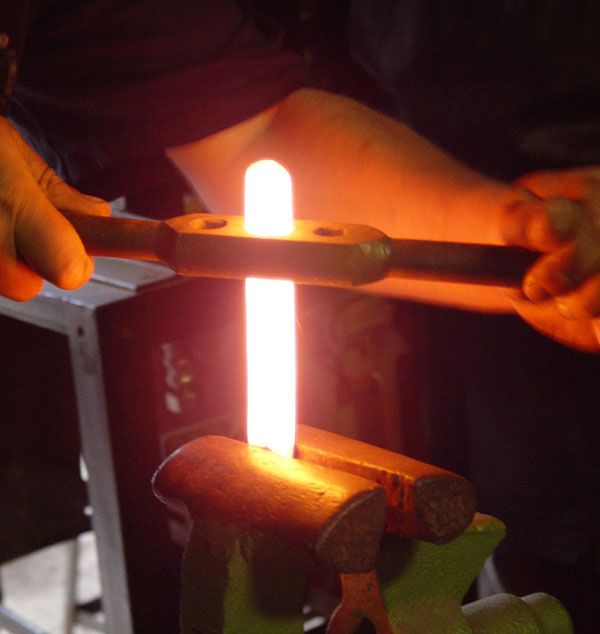
Figure 17. (torsion).
After that, the workpiece is trimmed to the desired dimensions, in this case the size of the square is about twenty millimeters.
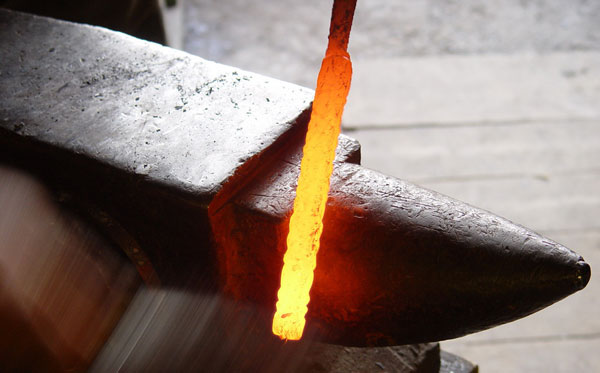
Fig. 18. (blank after torsion).
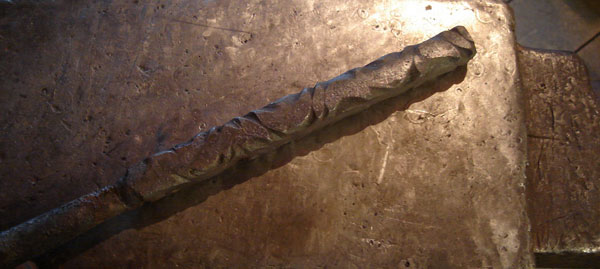
Figure 19. (workpiece after torsion).
When the workpiece is ready, it's time to forge the blade. We pull the body, the nose of the future blade and the tail. You can also forge the slopes, but in this case the metal pattern will open slightly.
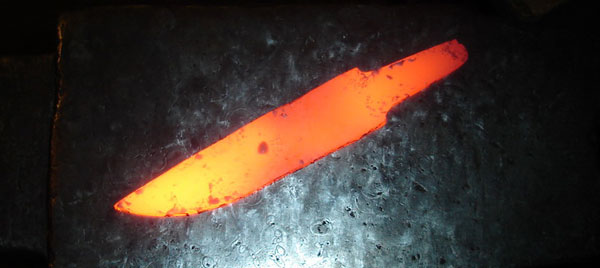
Figure 20. (blade after forging).
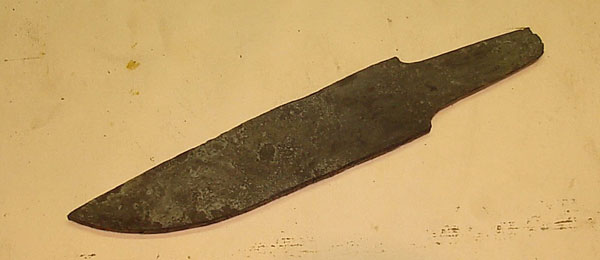
Figure 21. (blade after forging).
Grind the future blade and trim the ends
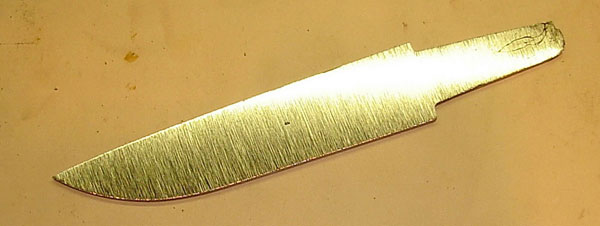
Figure 22 (workpiece).
After that, put a stamp, weld the shank and mark the future descents
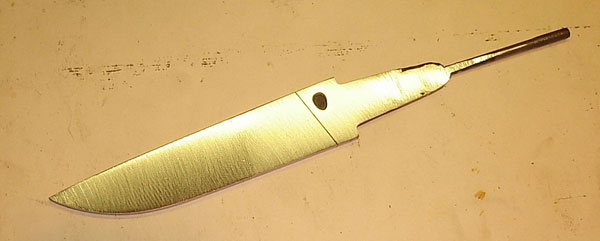
Figure 23. (workpiece).
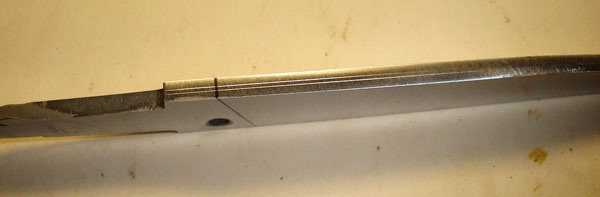
Figure 24. (workpiece).
Then on the grinder, roughly form the descents.
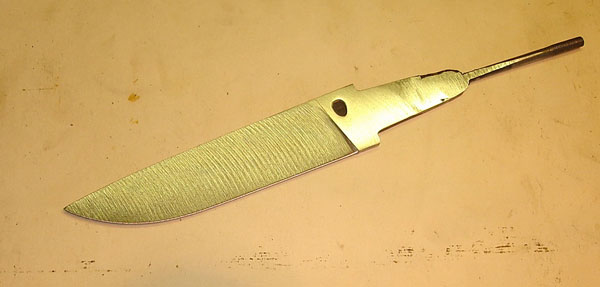
Figure 25. (blade before quenching).
It's time for heat treatment. We make normalization, in order to remove the stresses from forging and grind the grain of the metal. Further hardening: we heat in the quenching furnace to the quenching temperature and lower it into a tank heated to seventy degrees by oil. After that we spend a vacation - heating to a temperature of two hundred degrees and holding for two hours.
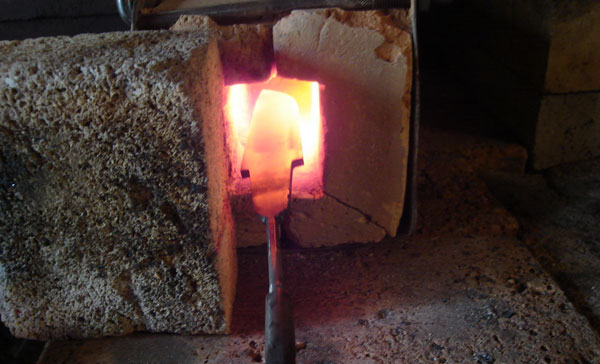
Fig. 26. (hardening forge).
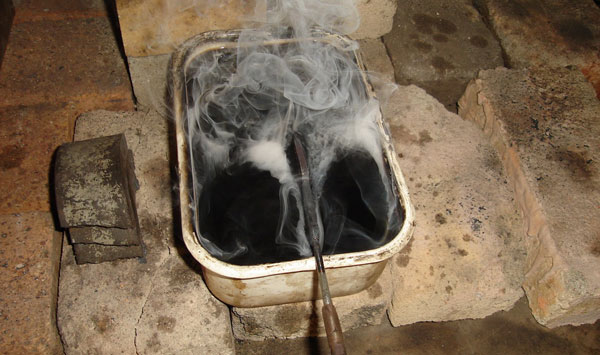
Fig. 27. (hardening of the knife).
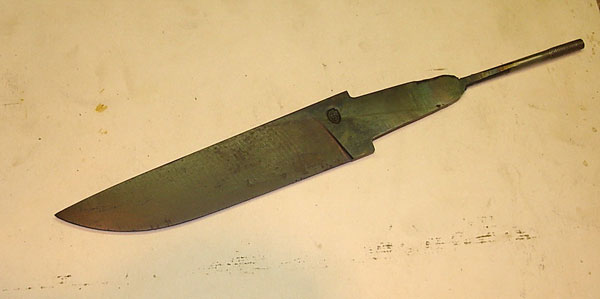
Figure 28. (blade after hardening).
Now grind the knife clean and etch it in a 5% solution of ferric chloride - this is necessary to show the pattern. As a result we get such a blade
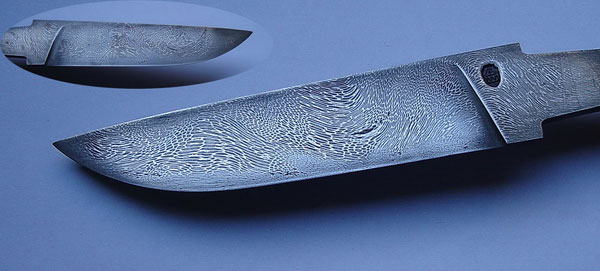
Figure 29. (ready blade) - which my friend dubbed "Element".

Comments
When commenting on, remember that the content and tone of your message can hurt the feelings of real people, show respect and tolerance to your interlocutors even if you do not share their opinion, your behavior in the conditions of freedom of expression and anonymity provided by the Internet, changes Not only virtual, but also the real world. All comments are hidden from the index, spam is controlled.