
Glowing cogs - a thing of interest and fun, can be a good idea to complement the design of the interior, car, computer or other device.
In the auto parts store it is often possible to pick up suitable parts, and the bolt screws are not an exception .., I found these bolts with a through hole. From some carburetor, or the tension of a cable. The diameter of the cap is about 10 mm, the thread is not standard, it is small, but it contains the necessary nut.
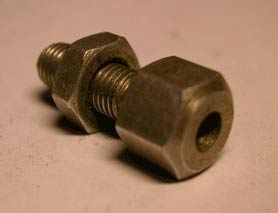
We drill a hole in the cap of the bolt to the thickness of the LED, up to 5.5 mm, and the through hole is up to 3.5 mm. Remove the decorative bevel with a 10mm drill. It turned out approximately like this.
By the way, it is not necessary to look for such a cunning bolt, you can use almost any one that is suitable in size and design.
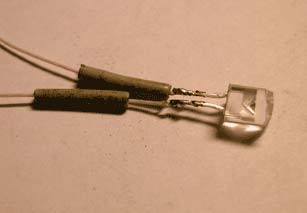
Now we are testing the LED. Its lens protrudes above the edge of the screw and it will have to be modified as follows.
The easiest way is to bite off half of the LED with wire cutters. It is possible to cut down on an emery, then the glow will be a little softer.
We dissolve the wiring, we put on insulating tubing-kembriki. Gently push the LED into the inside of the bolt, check its operability. We call the tester the absence of electrical contact with the screw body.
I had to slightly bend the legs of the LED, as seen in the following photo.
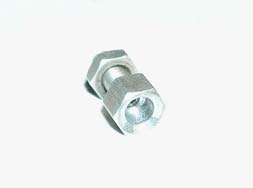
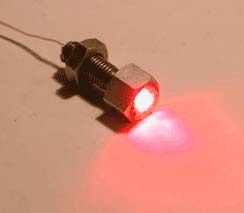
The cap of the screw was washed in acetone and painted with silver paint from a can.
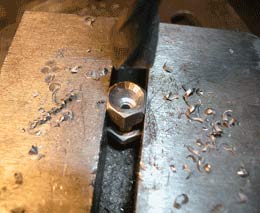
The place where the wires go is wrapped with electrical tape so that the resin does not leak. Vertically clamp the cog in the vice.

We raise the epoxy and drip a few drops. It is more convenient to do this with a small syringe. Epoxy should be slightly warmed by a hair dryer, this will give it fluidity.

To eliminate the air bubbles formed on the surface of the resin, it is sufficient to turn on the lighter for half a second.

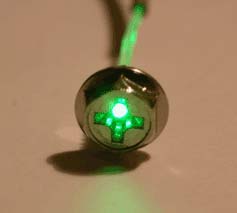
After about a day, after polymerization of the resin, the cogs are ready for installation. (Do not forget about the limiting resistor for the LED.) Is it really cool?
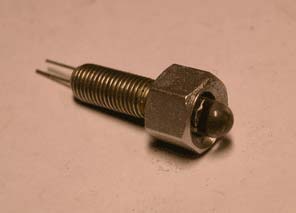
Making luminous screws with a small thread, so it does not take you much time and effort. The screw with M3.5 thread must be thoroughly drilled with a thin 1.4 mm drill, on the machine for drilling PCBs. Next, insert a piece of fiber into the hole. A drop of epoxy to fix your design.
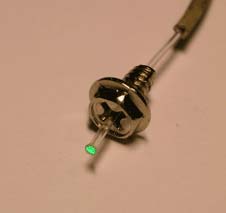
For lighting, you can use the LED, in such a perverted way, by drilling a hole for it in the fiber.

By the way, you can make optics with 6-8 cogs for a diode.
For the experiment, we used a light guide from an old laser printer, 1.3 mm thick, so you can use light guides from "shaggy" nightlights that sell in transitions  , Or pointerisovatsya in the stores of electronic components.
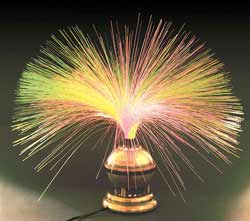
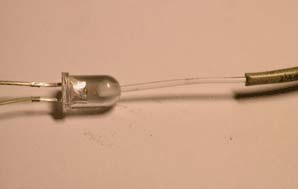
And here's a ready-made luminous cog. Where to apply it is a matter of your imagination.

Comments
When commenting on, remember that the content and tone of your message can hurt the feelings of real people, show respect and tolerance to your interlocutors even if you do not share their opinion, your behavior in the conditions of freedom of expression and anonymity provided by the Internet, changes Not only virtual, but also the real world. All comments are hidden from the index, spam is controlled.