Map Pass WOT Tactics
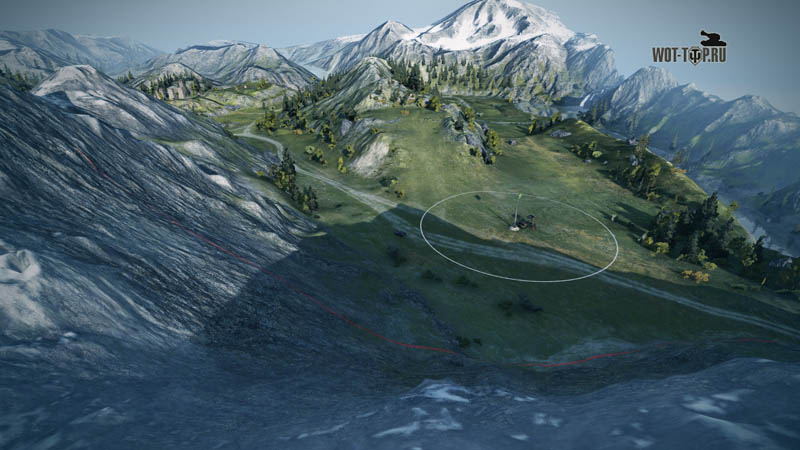
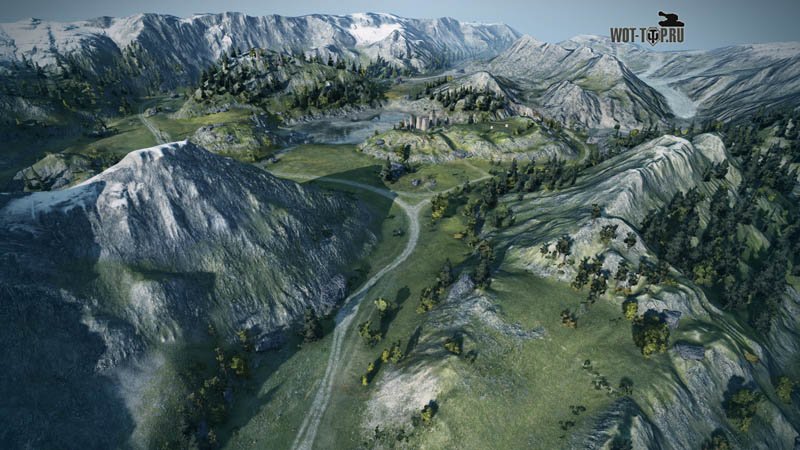
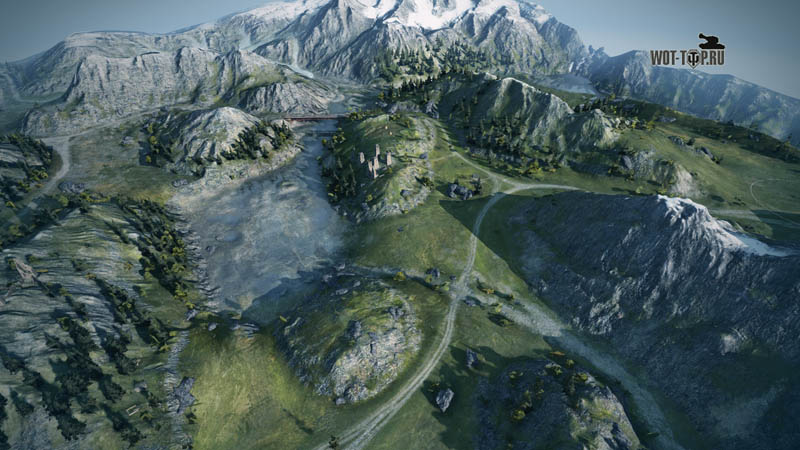
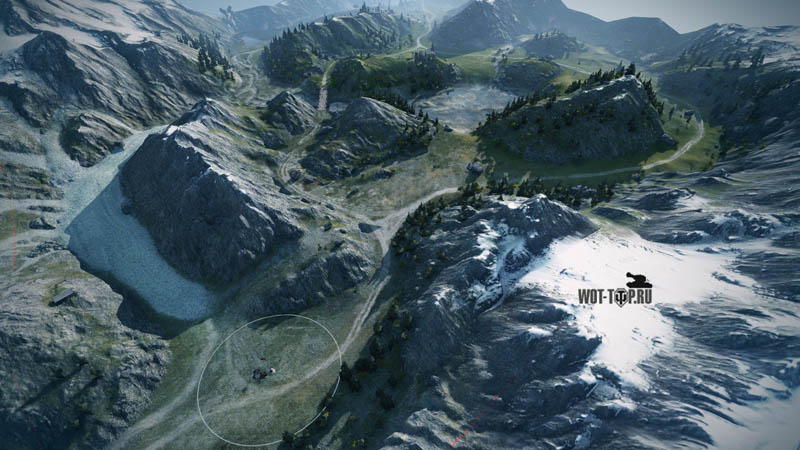
Map Pass appeared in the game recently. And immediately aroused emotions like borax artovodov and in tankers. "Pass" is a mountainous area with numerous secret passages. The size of the map in 1000 at 1000 meters, the level of fighting, from 4 to 11. It is a maze of canyons and ravines. Hereby mountaineers like it here. The location is full of all sorts of shelters in the form of stones, relief shelters. There are several key areas to "handled". All of them are very important for its strategic value. Leave any of them without attention, then lose the fight. Bypass and glacier - a place of collision of heavy tanks and pt. The outcome of the battle, mostly solved it here. Nisin - so a "cops and robbers" for CT and radiotherapy , while there can actively manifest itself pt shooting from the balcony. There they frolic, swim in some water and fire intermittently for each friend. Who won, and he will have an advantage. But in this area there is a small feature, which I'll discuss below. The shortest way to the enemy base is through the lowland area. But the most secure zone through bypass. Art is located on a hill, there is bad and shoots a couple of tanks, which will guard this passage can be easily swept away from his path. But let's talk about everything in order.
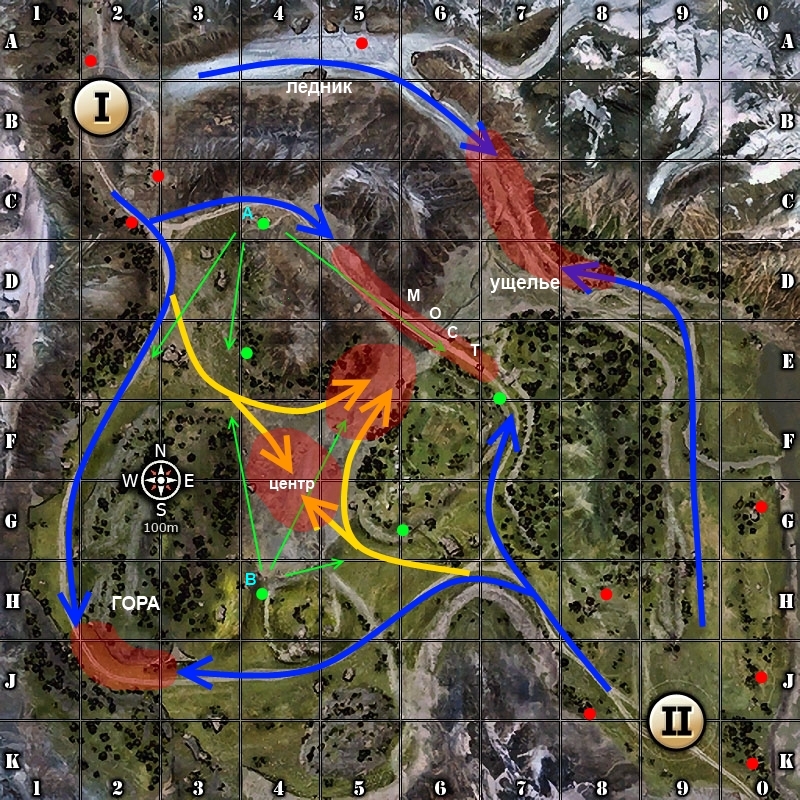
Exemplary ways to sidetrack for all types of equipment.
Green dots - cords or TP.
Red dots - arts.
The red field - hot spots, the main places of battles.
Yellow arrows - direction of attack CT
Blue arrows - TT direction of attack
Tactics.
Tactics for the first and for the second team on the map Pass is practically the same. The difference is only in minor details. Attack from the first spawn, like the second, it is possible in four directions. With first base, it is best to develop the offensive on the glacier, it will be short (not to say that security). While some priority to "handled" No, they are all equal. But it so happens that often, the team selected for the development of the attack was a glacier. But I would recommend for this purpose choose another way - across the bridge and squares H1, J2. If you send back a sufficient number of tanks, then break through the enemy's defenses will not be difficult. Especially because the main forces are usually found on the glacier. Yes, both of these areas may be exposed to fire PT enemy, your artillery sees their position perfectly well that can not be said about Artoo enemy. Under fire it at risk of being the only ones that will go through the squares H1, J2. But if you break through the bridge, the enemy, who will defend these squares you can safely populyat aft, making it easier to break the task. The first team to cover the glacier is "meaty" tanks. They should take on the power of the enemy attack.
There were no significant differences in the attack in the second spawn, no. But there is one little trick that I increasingly began to notice (and used) in a randomly battles. But first things first.
From the second spawn to attack the best glacier. But in this case, if your alliance ST captured "water." They will cover the flanks of the attackers. The bridge and the gorge better to just cover and stand there to death. And here is the one feature that I wanted to say. If you take a position in a square H3-H4, it will provide an opportunity to monitor the entire space along the lines of 4-7. From tanks can fire at enemy Ves CT and LT, which broke on the "water", the bridge and sweep the defending enemy tanks (or upcoming) in the squares C7, D7. This is quite a strong advantage, but these tanks need to cover in the rear of the square J2, the J3, otherwise everything will be in vain.
That's all. Generally, Pass card rather banal in terms of tactics. After breaking through a line of defense, your success is already guaranteed.
Key points on the pass.
See also other cards:
MORE_PHOTO: Download / Upload / Download / Upload / Download



Comments
Commenting, keep in mind that the content and the tone of your messages can hurt the feelings of real people, show respect and tolerance to his interlocutors, even if you do not share their opinion, your behavior in terms of freedom of speech and anonymity offered by the Internet, is changing not only virtual, but real world. All comments are hidden from the index, spam control.