Fisherman's Bay WOT Tactics
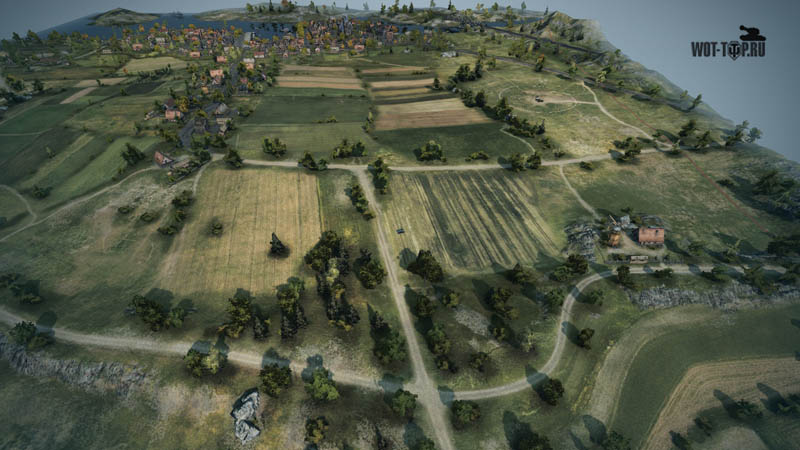
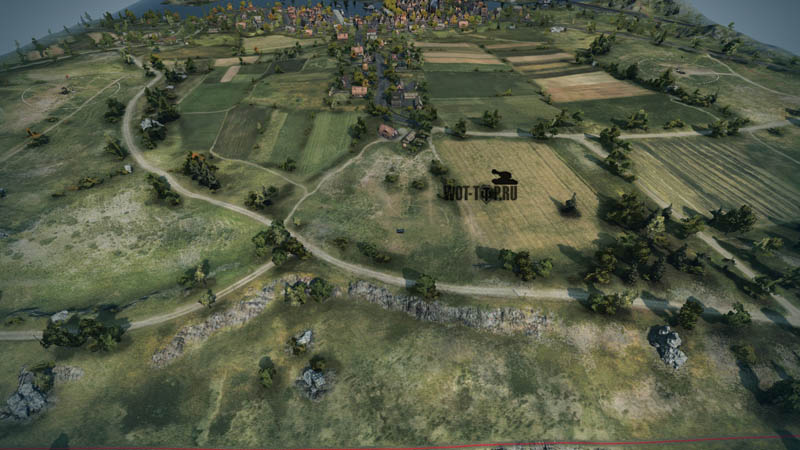
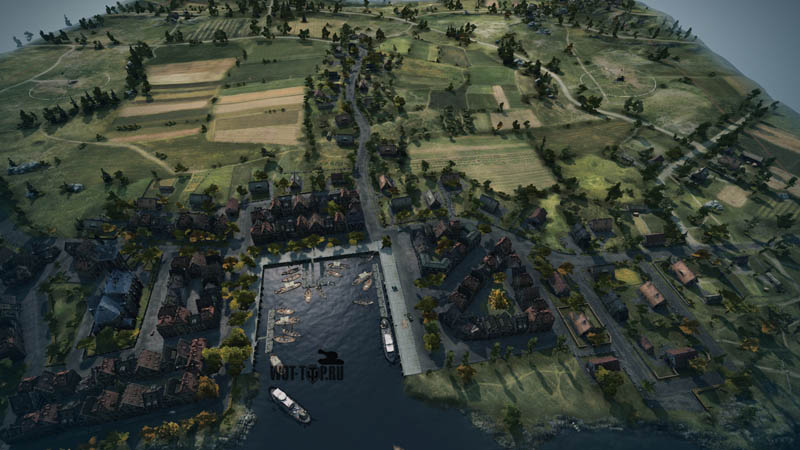
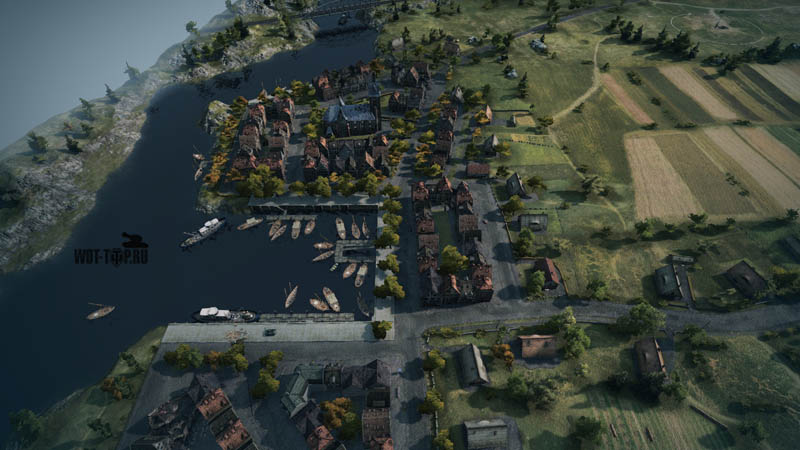
A map appeared relatively recently, but I already liked the players. The map can be called a mixture of several maps: Prokhorovka ( aleya ), Ruinberg (town) and Westfield (village). The size of the map is 1000 by 1000 meters, and the level of fights is from 4 to 11. It perfectly combines large open spaces and narrow labyrinths of streets. Here any technique will find its place. The tactics on this map are rather banal, but there are many solutions. On the map in large numbers there are various shelters, both relief and buildings. Conventionally, the map can be divided as follows: hill, aleu, village, city and island. We will analyze each of these zones separately.
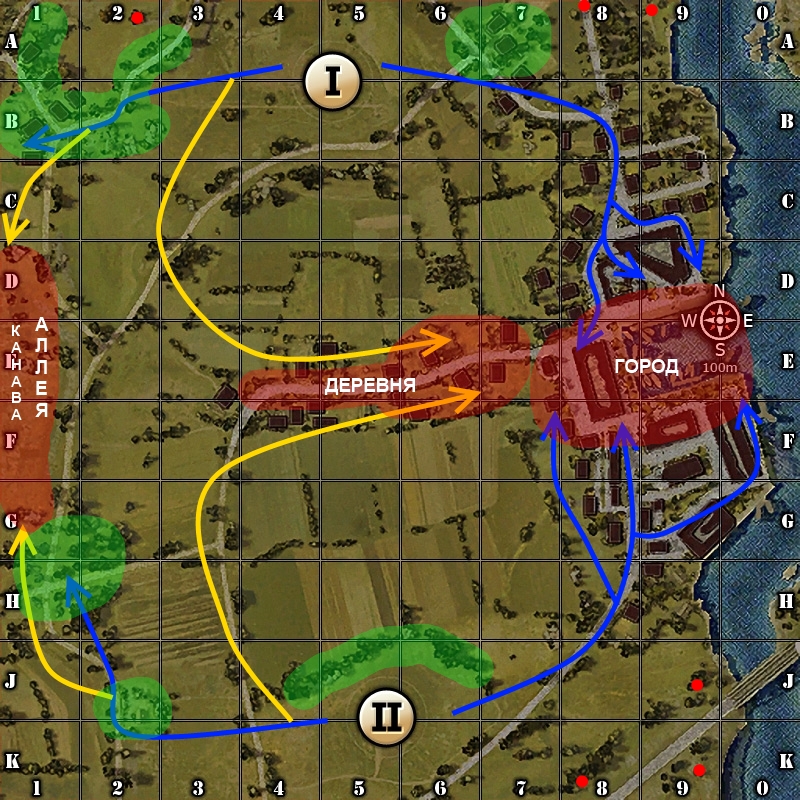
Approximate ways of traveling for all types of equipment.
Red dots are art.
Green areas - the location of PT.
Red areas are hot spots, the main places of fighting.
Yellow arrows - directions of attack CT.
The blue arrows indicate the direction of the TT attack.
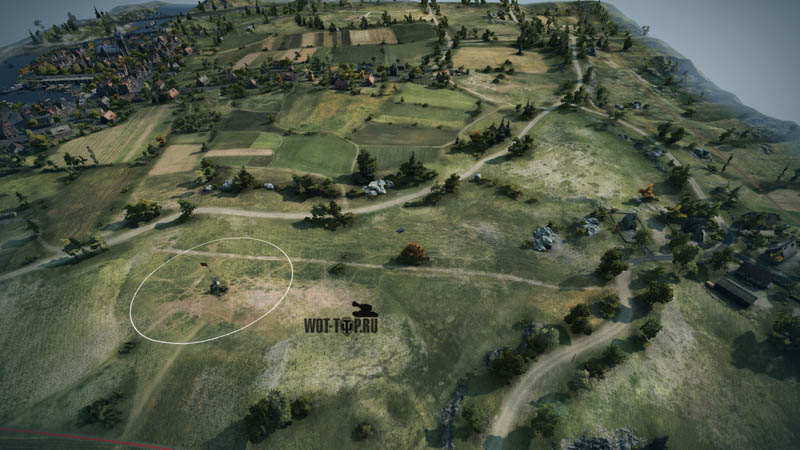
Hill is the site of the artillery deployment First team. Often it is going to be all there. From this zone the city and the village are perfectly shot.
In the alley Themselves feel comfortable Fri. There are a lot of shelters from where they can fire, remaining unnoticed. Also on the alley located on the first line like to ride CT and LT . Break through the defense, both the first and the second team on this site is not very difficult, which often leads to artillery losses of the first team.
Tactics on the map Fisherman's Bay.
The village is the meeting place for ST and LT. This is the shortest way to the enemy base and if you start moving here in the first seconds of the battle, then there is a chance to light up the enemy's art, which has not yet had time to take positions.
The city is a favorite place for battle strikes. A lot of houses make it possible to hide from the fire of enemy artillery and for strikes to conduct street fighting is more habitual.
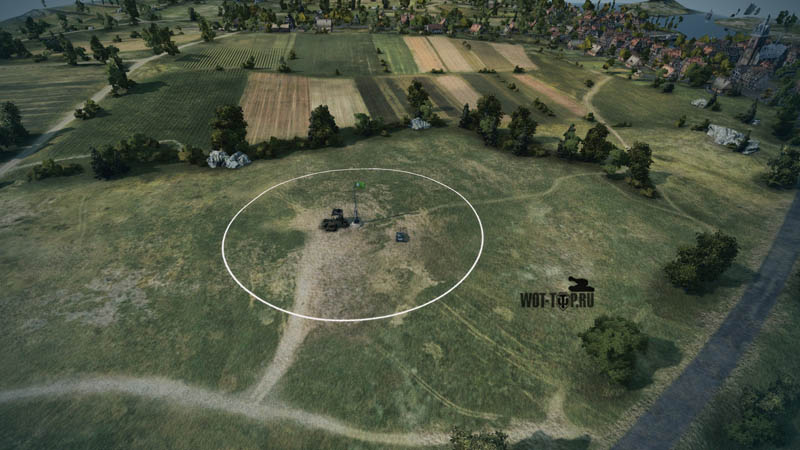
The southern base is the location of the second team's artwork. There is a small hollow, which gives a good shelter from the light from the village and the city.
Tactics.
I do not think it is worthwhile to talk about tactics for different revolutions, they are almost identical. But a couple of differences still exist. The first team is best attacked through the city. The enemy's art sees bad there and this greatly increases the chances of a successful breakthrough. Moreover, the enemy's art itself is very close to the city. The city must storm heavy tanks. The ST has a different role. They are under the cover of PTs must raspanut along the avenue to the base of the enemy. The village, which is in the center of the map, is also not worth leaving. 1-2 strands there is quite enough to cover the flank and the rear of the tanks, attacking through the city.
* Tactics of the game on Fri T25 / 2 World of Tanks
For the second team is best to choose a defensive tactic. The alley should be covered with PT and 1-2 with strands. These comrades will hold back the pressure of enemy CT. You better send it to the village. There they can light an artillery, or go to enemy strings in the city to the rear and flank. Heavy tanks of the second team must be sent to the city. Moreover, they have a small advantage. The fact is that the second respawn shelter is slightly larger and it is easier to attack from here. Moreover, allied artillery sees the city well enough from the island.
That's all the wisdom. I would advise you to better use the tactics of tank ambushes on this map. A lot of hills and shelters provide an excellent opportunity for this. So, go for it. Good luck in the hard tank business!
MORE_PHOTO: Download / Download / Download / Download / Download / Download




Comments
Commenting on, remember that the content and tone of your message can hurt the feelings of real people, show respect and tolerance to your interlocutors even if you do not share their opinion, your behavior in the conditions of freedom of expression and anonymity provided by the Internet, changes Not only virtual, but also the real world. All comments are hidden from the index, spam is controlled.